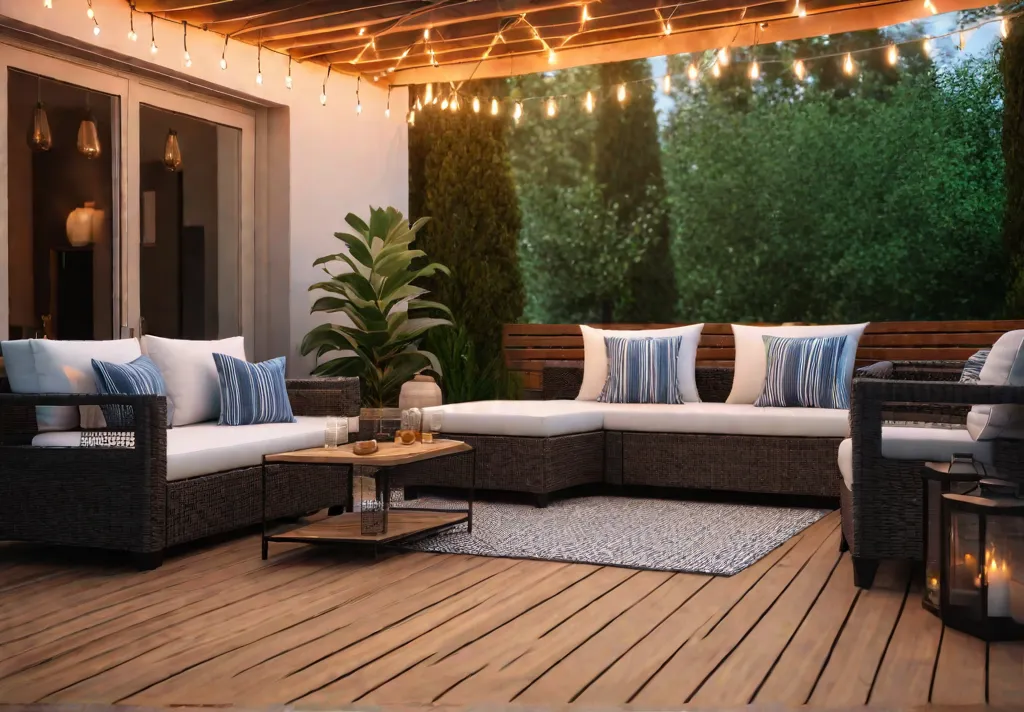
Yo curbstreeters, listen up! That raggedy ol’ deck of yours is in desperate need of a major glow-up. But don’t even think about forking over your hard-earned Benjamins for a whole new setup. With a few budget-friendly DIY tricks and a lil’ elbow grease, you can zhoozh that baby into a twinkling oasis that’ll make the neighbors jealous.
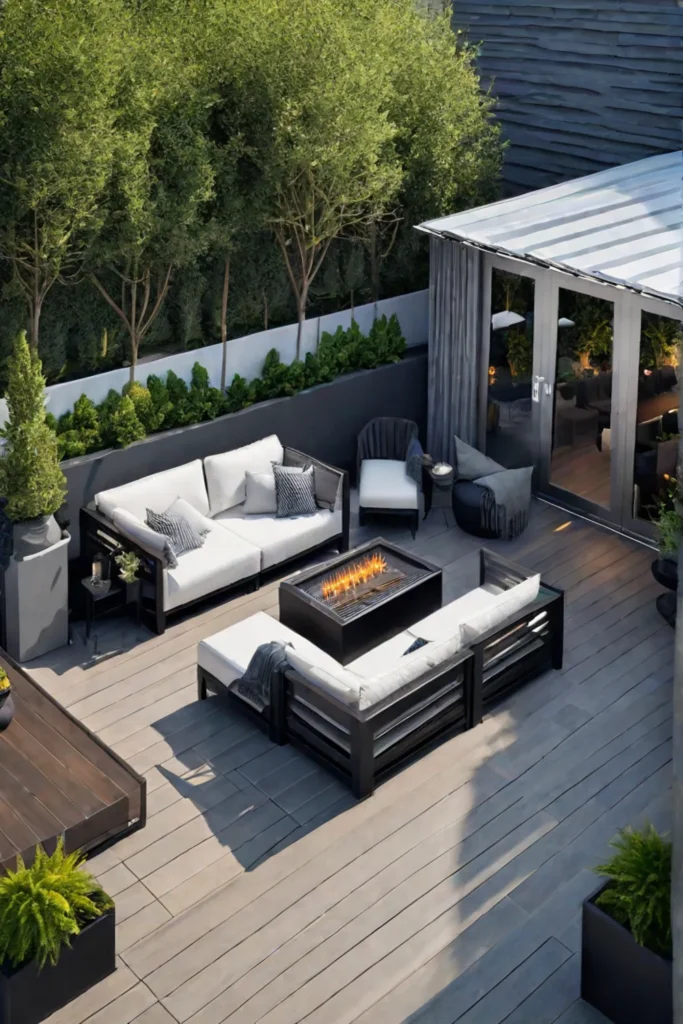
From revamping railings to layering in cozy decor, this step-by-step guide is packed with all my insider tips for transforming your sad slab into the ultimate outdoor hangout. We’re talkin’ clever lighting schemes, seamless multi-zone setups, and tons of funky personality. So grab your toolbelt and get ready to get weird, curbstreeters – your dreamy deck makeover awaits!
Refresh Your Deck with Stain and Seal
You craycray curbstreeters know the drill – that nasty, weathered deck ain’t doing your backyard vibes any favors. But don’t go droppin’ Benjamins on a whole new setup just yet! With a lil’ elbow grease and the right stain, you can totally zhoozh that baby up on a dime.
Choosing the Right Stain for Your Deck
First up, let’s talk stain types. Solid stains are like OG paint – they’ll cover up any ugliness but also hide that sexy wood grain. If you wanna let those natural knots and swirls peek through, opt for a semi-transparent or toner stain instead.
Whichever way you roll, make sure to grab a stain made specifically for decks and outdoor use. I’m talkin’ heavy-duty UV protection and mold/mildew resistance. Top curbstreeter picks are Behr’s Premium Weatherproofing Wood Stains or Olympic’s Maximum Stains.
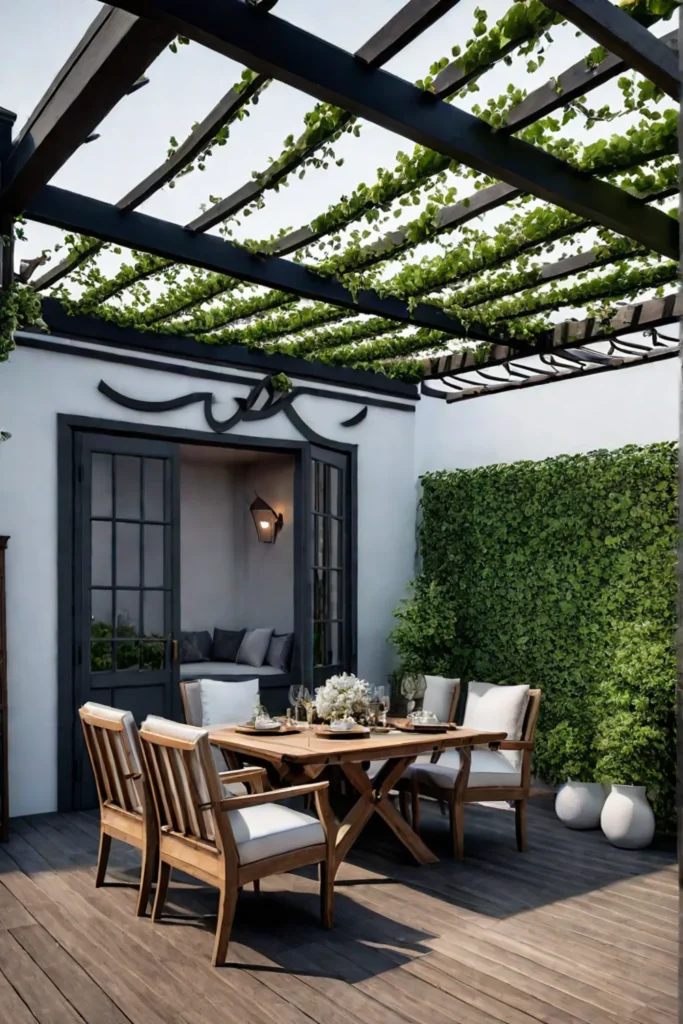
Step-by-Step Staining Guide
Now for the fun part! Here’s how to get that deck-staining party started:
- Prep that surface: Sweep away any dirt or debris, then use a deck cleaner and brightener solution to remove any grimy buildup. Let it fully dry (like, for real this time).
- Mask off: Use painter’s tape to protect areas you don’t want to be stained, like siding, railings, or that funky lawn gnome collection.
- Apply wood stripper (if needed): If you’re refreshing over an old solid stain, you’ll need to strip off any remaining color first. Follow the product instructions carefully.
- Stain away: Working in sections, apply the stain liberally with a thick nap roller, brush, or sprayer. Don’t be stingy – this stuff needs to penetrate deep.
- Add a sealant: Once the recommended drying time has passed, apply a clear sealant on top. This will protect your hard work from UV rays, foot traffic, and precipitation.
Pro tip: If using a sprayer, do a couple of thin coats rather than gunking it on thick. You’ll get way better coverage that way.
The Payoff
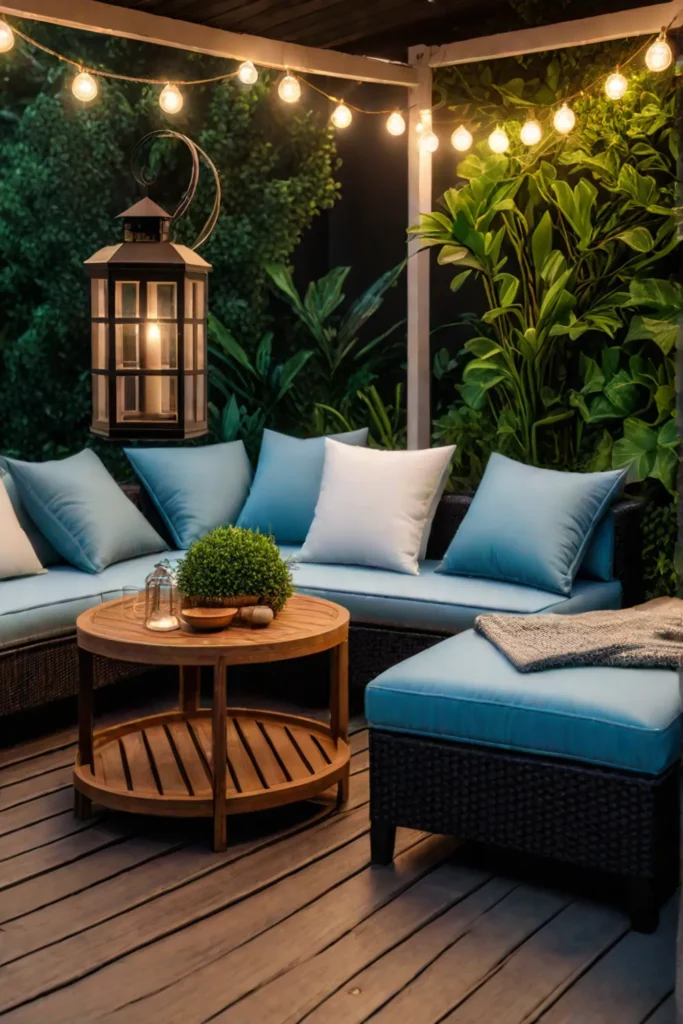
With a freshly stained deck, your outdoor space will look like a million bucks! Crank up the patio vibes with some funky accent pillows and maybe a little mosaic side table (thrifted, obviously). Dinner parties just got a major glow-up.
Now that your deck is living its best life, let’s talk about safety.
Upgrade Your Railings for Safety and Style
Peep your deck’s railings lately? If they’re looking a little rough around the edges or just plain blah, it’s time for an upgrade, babe! Swapping out those sad spindles is an easy DIY that’ll take your outdoor space from drab to fab.

Exploring Popular Railing Materials
First up, let’s talk materials. Wood is an obvious classic choice, but you’ve got tons of other rad options too:
- Aluminum: Sleek ‘n’ chic with a modern vibe. No rusting or warping here!
- Vinyl: Budget-friendly and low-maintenance. Perf for lazy bones like me.
- Cable: Hello, gorgeous views! These minimalist stunners let you soak in all the scenery.
- Wrought Iron: Ooh la la, so elegant! The scrollwork designs are to die for.
Installing Deck Railings Like a Pro
Ready to get those DIY muscles flexin’? Here are my top tips for railing installation:
- Measure twice, and cut once. Seriously, triple-check those measurements!
- Use a level constantly to keep those rails straight and sturdy.
- Consider pre-assembled railing panels for a speedier setup.
- Add a decorative top rail for extra oomph. Dress ’em up or down, babycakes!
Oh, and don’t forget to double-check local building codes for height requirements and spacing between balusters. Safety first, my friends!

Where can you snag affordable railing supplies, you ask? Hit up your local home improvement stores, but also cruise places like Habitat for Humanity ReStores for deep discounts on overstock and gently used materials.
The key takeaway? New railings aren’t just for function—they’re an opportunity to flaunt your unique style too. So get creative and make those babies pop!
Now that we’ve gussied up those railings, it’s time to…
Illuminate Your Outdoor Oasis with Lighting
After sprucing up that raggedy deck, you’ll wanna keep the party going even after Mr. Sun clocks out. Cue the magical glow of outdoor lighting to turn your space into a twinkling al fresco retreat! Let’s get those vibes flowing with some bright ideas.

Types of Deck Lighting to Consider
First up, solar-powered path lights are an eco-babe’s dream come true. No electrical wiring is required, just stick ’em in the ground and let the sun do its thing. They automatically switch on at night to guide your way. String lights are another crazy simple option for amping up the ambiance. Wrap them around railings or crisscross them overhead for a whimsical, festive feel.
For task lighting to grill up some grub or read by, look into solar spotlights or LED floodlights. They’ll keep things well-lit while saving tons of energy. And pssst…LED bulbs last like a million years so you won’t be changing them every 5 seconds.
Creating a Magical Ambiance with Lights
Now let’s get creative with placement! Up-lighting trees or unique architectural elements adds tons of drama. You can also use path lights to spotlight that funky garden sculpture you picked up at the flea market.
Installing dimmer switches for different lighting zones allows you to control the vibe. Keep things low-key for a laidback hangout, or crank it up for an enchanting evening soiree. Mixing and matching different lighting types is key to achieving that “je ne sais quoi” factor.

No matter which lights you choose, don’t be afraid to embrace that boho spirit and get a little quirky! Thrift some vintage lanterns or make your own customized fixtures from repurposed goods. Tie it all together with cozy textiles, potted plants, and any other treasures that spark joy.
When the sun dips down, your freshly illuminated deck will become an irresistible outdoor living room. Movie nights, late-night convos with besties, or just curling up with a book and glass of vino…the possibilities are endless!
Speaking of endless possibilities, let’s dive into the world of patio decor next! We’ll cover all the essential elements for creating an uber-cozy and stylish outdoor hangout.
Maximize Comfort and Style with Outdoor Decor
Yo dawgs! Ready to take your deck from drab to fab? Peep these sweet ideas for amping up the cozy factor and style points.

Choosing Durable and Stylish Outdoor Furniture
First things first – you need some solid seating. Think weather-resistant resin wicker or aluminum that can handle the elements. I’m talking funky retro chairs in bright poppy shades or sleek modern loungers.
You’ll also want a sturdy table for outdoor dining. Look for teak, cedar, or recycled plastic that’s built to last. Thrift stores and garage sales are goldmines for one-of-a-kind vintage finds!
Adding Personality with Accessories and Accents
Now for the fun part – dressing up that deck with all the boho trimmings! Outdoor rugs are a game-changer for defining zones and adding pops of color. Pile on cozy throw pillows and blankets for instant hygge vibes.
Lanterns, candles, and string lights create ambiance after the sun goes down. And don’t forget potted plants for pops of green! Scour yard sales for cool planters you can DIY.
Anchor the space with a little’ fire pit for toasty hangs. You can even find cute chimineas and braziers for smores nights! Thrift store artwork and mirrors also add mega personality.

The latest outdoor trends are all about mixing bold prints, natural textures, and global-inspired pieces. So don’t be afraid to get eclectic! Blend those boho poufs with mid-century chairs and macrame plant hangers. It’s your deck, so make it uniquely YOU.
Peep flea markets, garage sales, and online marketplaces for scavenged treasures. I’m talkin’ funky ceramics, vintage signage, repurposed architectural salvage – whatever speaks to your vibe! Then DIY that ish with some spray paint and you’ve got one-of-a-kind deck decor on a dime.
Zoning your deck into designated hangout spots is key for elevated outdoor living. In the next section, we’ll break down ideas for creating distinct areas that maximize your square footage…
Define Zones for Enhanced Functionality
Who wants a boring old deck that’s just one giant slab? Nah, we’re gonna choose things up by breaking it into distinct zones for chillin’, grillin’, and straight-up vibing. It’s the easiest way to max out your outdoor square footage and create a space that flows, baby!

Planning Your Deck Layout for Optimal Functionality
First up, grab a sketchpad and start mapping out your dream deck setup. Think about how you want to use the space – are we talking about big family cookouts? Romantic date nights under the stars? Cozying up with a good book and an ice-cold brewsky?
Once you’ve nailed down your vibe goals, start dividing that blank canvas into dedicated zones for different activities. An outdoor kitchen for your grill master skills? Check. A plush lounging oasis for peak summer vibes? You know it. Maybe even carve out a separate dining area for those epic taco feasts.
The key is creating natural transitions between each little territory using stuff like area rugs, planters, privacy screens – anything to define those boundaries while keeping it all seamless. Pro tip: Leave enough room for foot traffic to flow freely from one zone to the next.

Creating Seamless Transitions Between Zones
To bring those individual zones together, get creative with decor and landscaping elements. An outdoor rug can instantly anchor a convo pit and make it feel like a proper living room. Line the perimeter with tall grasses or lattice panels for some breezy, built-in screening.
For smaller decks, get space-savvy by incorporating built-in bench seating or foldable furniture that can be stashed away when not in use. Maybe install a pint-sized bar top for your private oasis – nothing says “staycation” like sipping frosty marks from your mini deck cantina!
And let’s not forget the ambiance, people. Twinkling string lights, lanterns, and candles will make your multi-zone setup feel straight-up magical once that sun goes down.
The beauty of defining deck zones? You’re creating a true outdoor oasis with different vibes and activities all flowing together in one space. So go ahead and let your freak flag fly when mapping out your dream setup – this is YOUR quirky kingdom, baby!
Wrapping Up
There you have it, party people – a total deck glow-up achieved with nothing but scrappy DIY spirit and a few affordable upgrades! With its fresh stain, stylish railings, mood lighting, and all those cozy boho trimmings, your outdoor oasis is now the ultimate staycation retreat. Crank up the patio vibes, fire up the grill, and get ready for a summer of epic backyard hangs.

But don’t stop there! Why not add a lil plunge pool for hot days or build a swanky outdoor bar? The possibilities are endless when you start looking at that deck as a blank canvas for quirky self-expression. So go ahead and embrace your inner artist, curbstreeters. Your one-of-a-kind oasis is a living masterpiece that’ll keep evolving with your dreams and finds.
At the end of the day, the real magic happens when you infuse those personal touches – the vintage treasures, daring clashes of color and pattern, and all those whimsical touches that make it unmistakably YOU. So get out there and create an unforgettable space, one thrifty DIY at a time!
