Let’s be real – the kitchen is the heart of any contemporary home. It’s where we cook up culinary masterpieces, gather with friends, and create those Instagram-worthy moments. But nailing that fresh, modern vibe goes beyond sleek cabinets and chic countertops. The right lighting is what truly brings the space to life.
From eye-catching pendants to warm, layered illumination, I’m dishing out all my pro tips for elevating your kitchen with seriously stylish statement lighting. Get ready to transform your cooking zone into an absolute showstopper that radiates major “you did that” energy. Because in 2024, great design is about more than just function – it’s an extension of your unique taste and lifestyle.
The Power of Pendant Lights
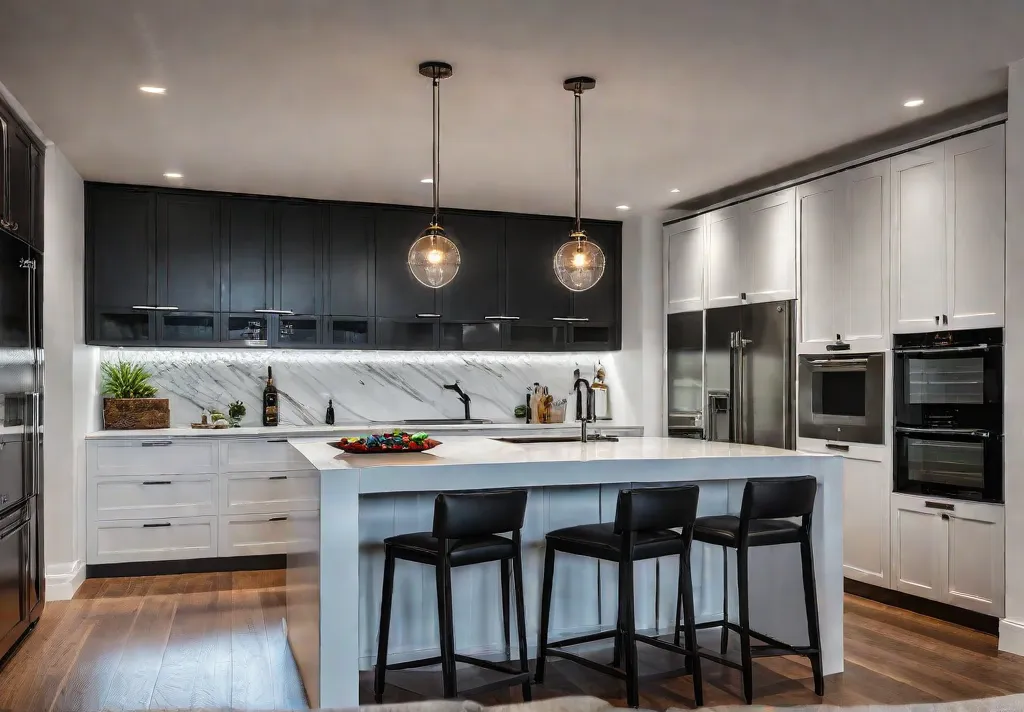
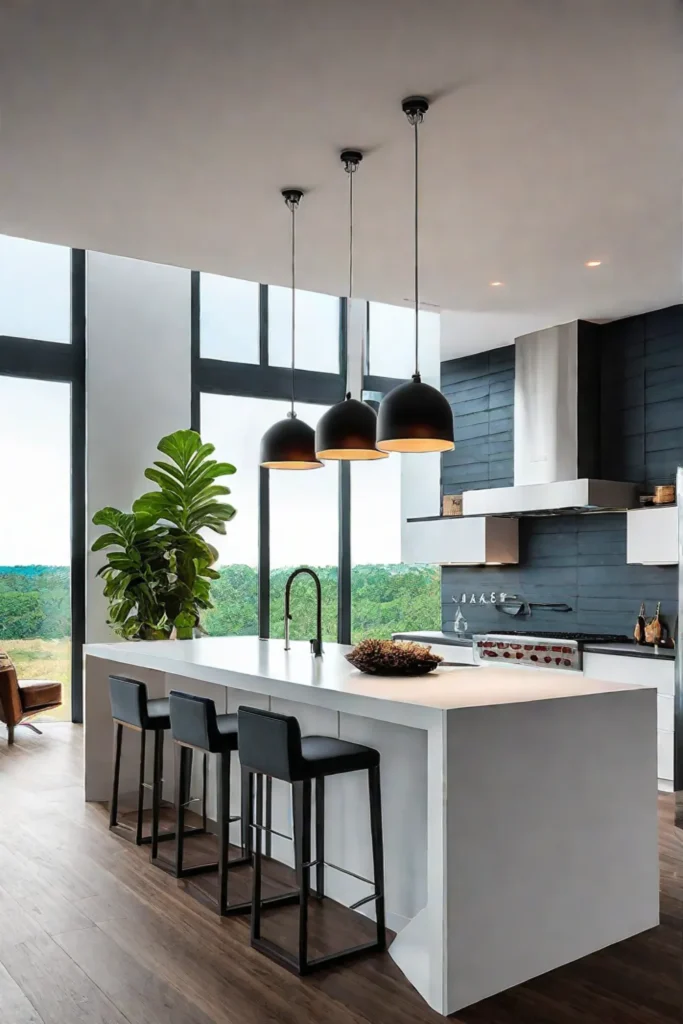
Pendant lights are an absolute must in the contemporary kitchen. Not only do they provide essential task lighting, but they double as eye-catching statement pieces that instantly elevate your space. I’m sharing my top tips on how to rock the pendant trend like a pro.
Choosing the Right Pendant Style for Your Kitchen
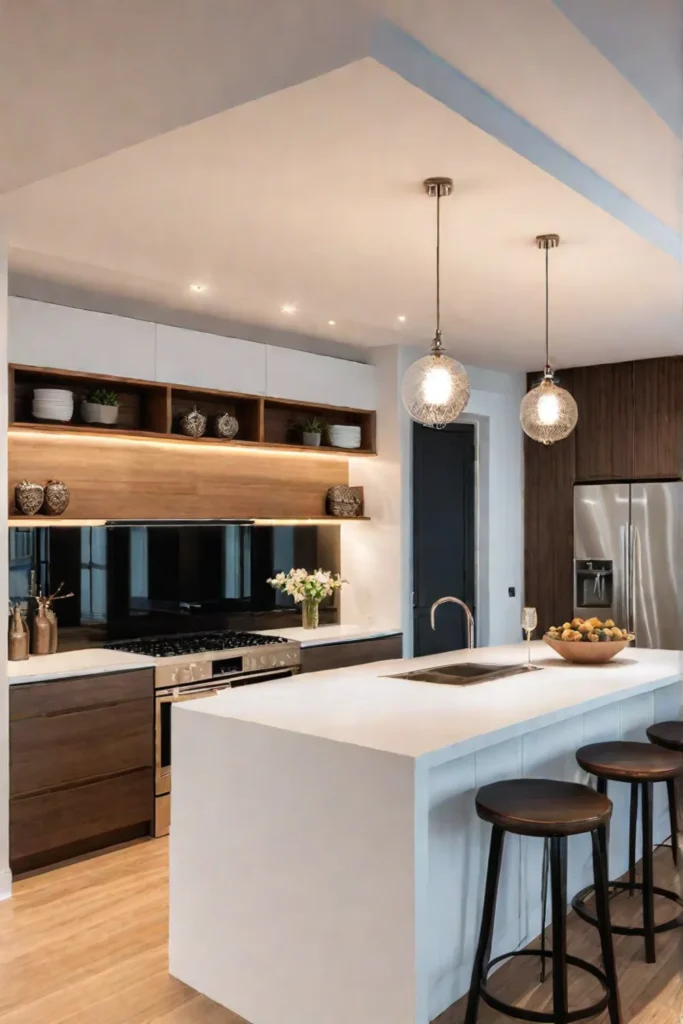
The options are endless – from sleek globe shapes and industrial caged designs to sculptural, artistic beauties. For a fresh, modern vibe, I love mixed metallic finishes like matte black and brushed gold. Glass pendants with an exposed bulb filament are another major trend that seamlessly blends form and function.
If you want to keep things light and airy, opt for open, minimalist designs in crisp white or clear glass. Feeling bold? A cluster of vibrantly colored or patterned pendants instantly energizes your kitchen. Just be sure to balance those colorful accents with plenty of streamlined, neutral surfaces.
For a mid-century-inspired look, embrace retro-chic with classic drum shades or unique, angular silhouettes in warm wood tones and charming vintage-style bulbs.
Placement and Spacing for Maximum Impact
When it comes to hanging pendants, proper sizing and spacing is key. As a general rule, your pendants should be about 30-36 inches from your countertop and spaced 18-24 inches apart. For kitchen islands, I recommend oversized, statement-making pendants around 12-20 inches in diameter hung in a row or cluster.
Over a breakfast nook or smaller dining area, go for a set of three smaller pendants – 6-10 inches wide works perfectly. Just be sure to leave around 30 inches between each light so you have ample headroom. And don’t forget to consider your ceiling height!
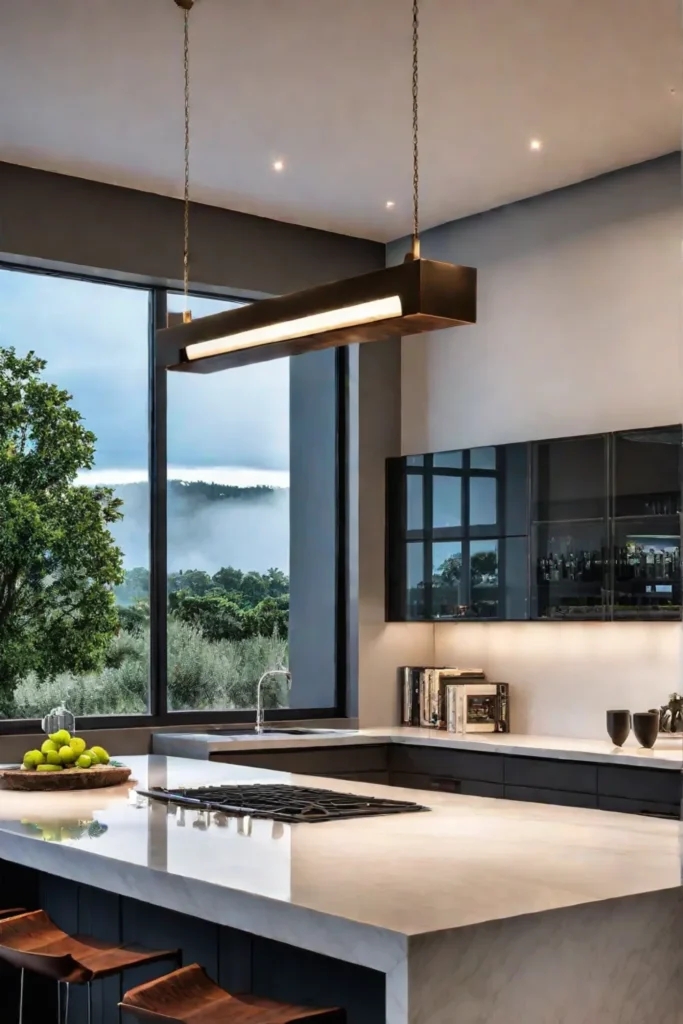
Did you know the first pendant lights were simple oil lamps suspended from chains? Talk about OG statement lighting! These days, we have so many stylish options to choose from that elevate both the form and function of pendant lights.
Pendant lights instantly make a bold statement, but layering in additional light sources is key for creating a warm, multidimensional kitchen. Up next, I’m dishing on how to ace light layering like an interior pro.
Layering Light for Depth and Dimension
Lighting is the unsung hero of any well-designed kitchen. Sure, those sleek cabinets and chic countertops are eye-catching, but without the right illumination, even the most stunning space can feel flat and uninviting. The secret? Layering different types of lighting to create depth, dimension, and all-around good vibes.

The Different Layers of Kitchen Lighting
Let’s break it down:
Ambient Lighting: This is your base layer, providing overall illumination throughout the room. Think recessed cans or a stylish semi-flush mount fixture.
Task Lighting: As the name suggests, this type of lighting makes prepping and cooking a breeze. Under-cabinet strips and pendant lights over the island are game-changers.
Accent Lighting: This is where you can get creative and highlight those architectural details or design moments you’re obsessed with. Interior-lit cabinets, toe-kick lighting, or even a statement chandelier can elevate the entire vibe.
Creating a Lighting Plan for Your Kitchen
Now that you know the layers, it’s time to craft a lighting scheme that works for your space. Start by evaluating your kitchen’s layout and identifying key zones like the cooking area, island, and dining nook. Each zone should have a mix of ambient, task, and accent lighting to create a cohesive, well-lit atmosphere.
For example, you might opt for recessed cans and a chic semi-flush mount for overall ambient lighting, then layer in under-cabinet strips and pendant lights over the island for task lighting. Finally, add some drama with interior-lit cabinets or a statement pendant over the dining table for that coveted accent lighting.

Pro tip: Don’t forget about dimmers! They’ll let you adjust the intensity of each light source throughout the day, from bright and energizing in the morning to warm and moody for cozy dinner parties.
By thoughtfully combining different types of lighting, you can transform your kitchen into a multi-dimensional, Instagram-worthy space that’s as functional as it is fabulous. So go ahead, get creative, and let there be (layered) light!
Recessed cans are a key component of ambient lighting, but they can also be used strategically to highlight specific areas or architectural features. Let’s dive into how to seamlessly integrate these versatile fixtures into your dream kitchen design.
Recessed Lighting: Seamless Integration
Recessed lighting offers an ultra-sleek and modern way to illuminate your kitchen. With the lights tucked away in the ceiling, you get an airy, minimalist look that doesn’t disrupt the clean lines of your contemporary space. Talk about a clean aesthetic!

Different Types of Recessed Lights
When it comes to recessed lights (a.k.a. “can lights” or “downlights”), you’ve got a few trim options:
- Baffle Trim: This style has a cone-shaped light baffle that extends below the ceiling, helping to reduce glare.
- Reflector Trim: The trim features an angled reflector that directs the light downward for a focused beam.
- Open Trim: This basic trim is flush with the ceiling, creating a clean, streamlined appearance.
Placement and Spacing Guidelines
Proper placement is key to preventing those dreaded hot spots and dark zones. General guidelines suggest spacing your recessed lights about 3-4 feet apart and positioning them 3 feet away from walls. But your best bet is to create a lighting layout based on your specific kitchen dimensions.
Choosing the Right Bulbs
When selecting bulbs for your recessed lights, keep in mind that color temperature can drastically change the vibe:
- Warm White (2700-3000K): Creates a cozy, inviting atmosphere (think candlelight vibes).
- Cool White (3500-4100K): Gives off a crisp, modern feel that’s ideal for task lighting.
For a balanced look, you could even combine warm and cool recessed lights as general and accent lighting.

Avoiding Glare
Nobody wants to be blinded while cooking up a storm. To prevent glare from recessed lights, opt for trims with built-in light baffles or position the lights at an angle instead of directly overhead.
Key Takeaway: Recessed lighting is a total win for contemporary kitchens, providing even overall illumination in a discreet, streamlined package. Just be strategic with placement, trims, and bulb temps for the perfect ambiance.
Speaking of a modern, minimalist aesthetic, the next section covers how to incorporate sleek under-cabinet lighting for both beauty and utility. Let’s keep this contemporary kitchen lit!
Under-Cabinet Lighting: Function Meets Style
Under-cabinet lighting is a must-have for the contemporary kitchen. Not only does it provide essential task lighting for meal prep and cleanup, but it also adds a sophisticated layer of ambiance.

Types of Under-Cabinet Lighting
The most popular option these days is LED strip lights. Energy-efficient and long-lasting, LED strips can be hardwired or plugged into a standard outlet. For a cozy glow, go with warm white bulbs around 2700K. Or amp up the drama with color-changing RGB strips that let you set the vibe.
Puck lights are another classic under-cabinet choice. These disc-shaped fixtures create a clean, focused beam of light. Xenon pucks have a crisp, modern look, while halogen bulbs emit a warmer tone.
Installation Tips and Considerations
Before installing under-cabinet lighting, consider your kitchen’s workflow. Place strips or pucks wherever you need concentrated light — near the sink, stove, or prep areas. Installing them on a dimmer switch allows you to easily adjust brightness levels for tasks versus ambient lighting.
For a pro-level look, opt for integrated channel systems that conceal wiring behind a sleek housing. Just be sure to plan for access to the cabinet interiors. No one wants to wrestle with tangles of cords when swapping out spice jars!

Under-cabinet lighting is an affordable splurge that makes a big impact. It elevates your culinary space from merely functional to straight-up showstopping. Plus, you’ll wonder how you ever cooked without that focused beam illuminating the cutting board.
Not just for practicality, under-cabinet lights can highlight a stunning tile backsplash or glossy countertops. Dial up the warmth of natural wood cabinets or make lacquered surfaces gleam. The options are endless for adding eye-catching drama.
Another way to layer in ample illumination? Consider track lighting. These adjustable, focused beams are ultra-flexible for highlighting specific zones or features…
Track Lighting: Versatility and Focus
Track lighting offers a sleek, modern solution for illuminating your contemporary kitchen. Originally used in art galleries and museums, this adaptable lighting system has made its way into residential spaces, adding both style and function.

Types of Track Lighting Systems
Track lighting comes in various configurations to suit different kitchen layouts:
- Straight tracks work well for lining cabinets or open shelving.
- Curved tracks can follow the contours of an island or peninsula.
- Flexible tracks allow you to create custom shapes and patterns.
Choosing the Right Track Heads
The track heads you choose will significantly impact the overall look and feel of your kitchen lighting. Consider these options:
- Directional heads are perfect for highlighting specific areas like a prep station or dining nook.
- Decorative track heads, such as globe or cylinder styles, add a touch of flair while providing ambient light.
- Adjustable heads let you redirect the light as needed, ensuring optimal task lighting.
To prevent your track lighting from looking outdated, opt for sleek, streamlined designs in finishes that complement your kitchen hardware and appliances.
One of the best things about track lighting is its versatility. Use it to create a focal point over your kitchen island or dining area, or highlight open shelving and artwork. The adjustable angles of the track heads allow you to direct light precisely where you need it.

Don’t be afraid to mix and match different track head styles for a more eclectic look. Just be sure to maintain a cohesive theme throughout your kitchen.
With so many options available, track lighting is a surefire way to add both function and fashion to your contemporary kitchen.
While track lighting offers excellent task illumination, a statement chandelier can truly elevate the style quotient of your kitchen. These stunning fixtures add a touch of glamour and become the room’s focal point.
Statement Chandeliers: A Touch of Glamour
Nothing says luxe like a glamorous chandelier hanging from the ceiling of your contemporary kitchen. These eye-catching light fixtures instantly elevate the vibe and add a touch of drama to any cooking space. But choosing the right one takes some savvy styling.

Selecting a Chic Silhouette
When it comes to chandelier styles, the options are endless. For a sleek, modern look, opt for a linear or geometric design with clean lines. Think exposed bulbs, minimal metalwork, and industrial-inspired materials like matte black iron or polished brass. If you prefer a softer, more romantic aesthetic, consider a classic crystal or glass chandelier with cascading tiers of teardrops or globe shades. Just be sure to keep it proportional to your kitchen’s size and scale.
Hanging it Right
Proper height and placement are key for a chandelier to look its best. As a general rule, hang it around 30-34 inches above your dining table or kitchen island for optimal lighting. In an open-concept layout, center the fixture equidistant from the walls and cabinetry. For lower ceilings under 8 feet, go with a semi-flush or flush-mount style that hugs the ceiling. You can also get creative by clustering a few smaller pendants together for a custom, staggered look.
Pro tip: The diameter of your chandelier should be about 1/3 the width of the surface it’s hanging above. So for a 6-foot table, look for a light fixture around 24-30 inches wide.

Make it Personal
Don’t be afraid to have fun and incorporate unique, eye-catching details. Mixed metal finishes, colorful glass accents, and quirky shapes are all fair game for adding personality. Just keep an edited, curated vibe by sticking to a tight color palette and clean lines elsewhere in the kitchen.
A stylish chandelier is the ultimate “you did that” moment for pulling together your dream contemporary cooking space. So go big and make it a showstopper!
Wrapping Up
At the end of the day, killer lighting is what takes a contemporary kitchen from basic to absolutely breathtaking. With the right mix of pendants, recessed cans, and accent details, you can create a warm, multi-dimensional space that’s as functional as it is fabulous. So don’t be afraid to get creative and let your style shine through!

Whether you’re drawn to sleek, modern silhouettes or sculptural, artistic pieces, curating the perfect lighting scheme allows you to make a bold statement while keeping things fresh and current. It’s the ultimate blend of form and function – and the key to an insanely Insta-worthy cooking zone.
So go ahead, splurge on those gorgeous pendants you’ve been eyeing, and invest in layered, dimmable lighting. Your future self (and guests) will thank you every time they step into your contemporary culinary oasis. Let there be light, babe!
