Have you ever gazed at an outdated piece of furniture and felt uninspired by its tired appearance? Don’t be too quick to dismiss it. Creativity and an eco-conscious mindset allow you to breathe new life into those forgotten gems. From refinishing wood to reupholstering with sustainable fabrics, transforming furniture is a rewarding journey that will enable you to express your unique style while honoring the environment.

Join me as we explore the art of furniture upcycling – a world where old becomes new and sustainability meets personal expression. Together, we’ll uncover techniques to reveal the beauty beneath worn surfaces, repurpose everyday objects into one-of-a-kind treasures, and even craft custom pieces from scratch. Get ready to embrace your inner DIY spirit and create a living space that reflects your values and aesthetics.
Breathing New Life into Old Furniture: Painting Techniques
As an avid DIYer and home decor enthusiast, I can’t help but get excited about the endless possibilities of transforming old furniture with a fresh coat of paint. It’s an affordable and creative way to breathe new life into those outdated or worn pieces, giving them a vibrant and personalized touch that reflects your unique style.
Popular Painting Techniques for Furniture
One of my favorite painting techniques is chalk paint, which offers a beautiful, vintage, and distressed look. It’s perfect for achieving that coveted farmhouse or shabby chic aesthetic. Alternatively, spray paint is an excellent choice if you prefer a smooth and modern finish. It provides even coverage and professional-looking results.

Choosing the Right Paint and Supplies
Before diving into your painting project, choosing the right paint and supplies is essential. I always recommend investing in high-quality brushes and sandpaper for proper surface preparation. Don’t forget to grab a few painter’s tapes to ensure clean lines and protect areas you don’t want to paint.
Unleash Your Creativity
The beauty of painting furniture lies in the limitless possibilities for creativity. You can experiment with stencils to add intricate patterns or designs or distress the painted surface for a rustic and charming look. And for added protection and durability, always apply a protective topcoat once you’ve achieved your desired finish.
Regarding color palettes, the latest trends lean towards warm, earthy tones like terracotta, sage green, and mustard yellow. However, don’t be afraid to step outside the box and choose colors that speak to your style and complement your living room’s overall aesthetic.

Suppose you’re aiming for a specific paint finish, like a crackle or antique look; specialized techniques and products are available. I’d happily share tips and tricks for achieving those unique and eye-catching effects.
The key takeaway is that painting furniture is a versatile and cost-effective way to update your living space. It allows you to personalize your pieces and create a cohesive, stylish environment that reflects your personality.
Now, let’s move on to the next section, where we’ll explore the art of reupholstering and fabric transformations.
The Art of Reupholstering: A Guide to Fabric Transformations
Breathe new life into tired furniture by reupholstering it with fresh, vibrant fabrics! As an expert in home decor, I’m passionate about this cost-effective way to revamp your living spaces. With some elbow grease and creativity, you can transform outdated pieces into stunning centerpieces that reflect your unique style.

Essential Tools and Materials for Reupholstering
You’ll need a few essential tools and materials to tackle a reupholstery project like a pro. Gather a staple remover, pliers, scissors, a hammer, a webbing stretcher, and your chosen fabric (plus a little extra for mistakes). Don’t forget the batting, upholstery foam, and a trusty staple gun – these will be your best friends throughout the process.
Step-by-Step Reupholstering Process
First, carefully remove the old fabric, noting how it’s attached to the frame. Next, assess the condition of the batting and foam, replacing them if necessary. Cut your new fabric to size, allowing for generous seam allowances. Then, it’s time to get wrapping and stapling! Work methodically, keeping the fabric taut and smooth as you secure it to the frame. Finish with any decorative details like tufting or piping for a professional touch.
Fabric Choices and Practical Tips
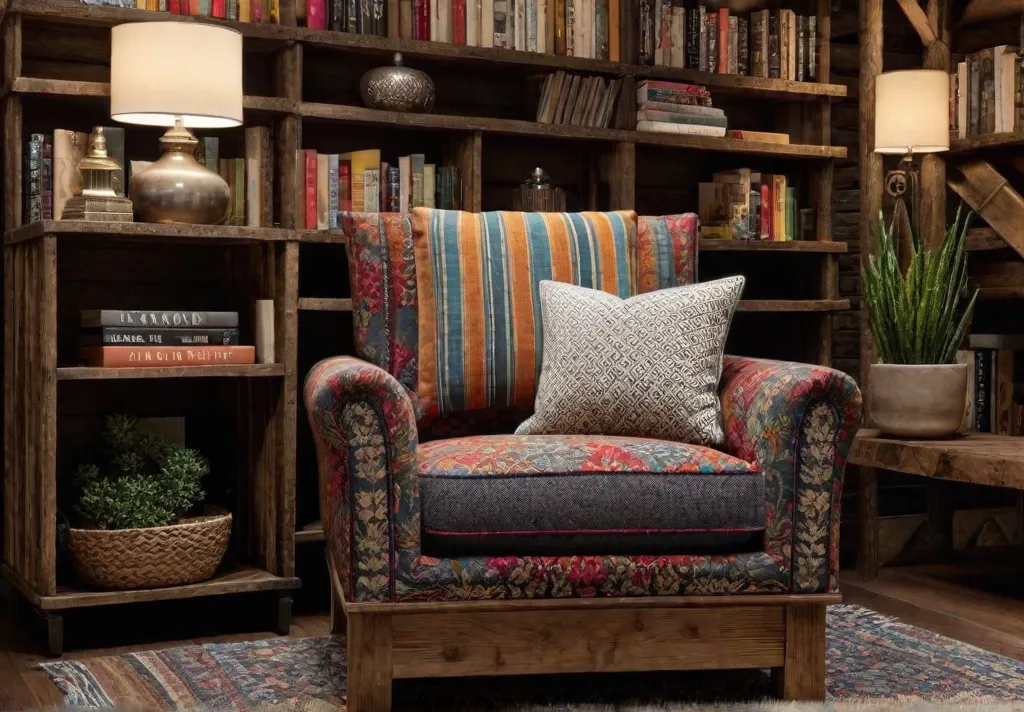
When it comes to fabric selection, the options are endless! Consider the room’s color scheme, your style, and the furniture’s intended use. Opt for durable, stain-resistant fabrics like microfiber or leather for high-traffic areas. In pet-friendly homes, tightly woven fabrics that resist snagging are a must.

To estimate fabric needs, measure the piece and add a generous allowance for seams and patterns. Is it reupholstering dining chairs? Choose a coordinating fabric for a cohesive look. And don’t be afraid to get creative with textures, patterns, and details like tufting or piping for a touch of elegance.
The beauty of reupholstering is the ability to customize furniture to your taste while extending its lifespan. It’s a rewarding project that allows you to express your creativity and achieve the living space of your dreams.
Refinishing furniture is another fantastic way to unveil the beauty beneath, breathing new life into worn pieces. Let’s dive into that transformative process next!
Refinishing Furniture: Unveiling the Beauty Beneath
As an expert in home decor, I love the process of refinishing furniture. It’s like unveiling a hidden gem, restoring the natural beauty of wood obscured by years of wear and tear or outdated finishes.

Stripping, Sanding, and Staining Wood
The first step in refinishing is to strip away any existing paint or varnish. This can be done using a chemical wood stripper, good old-fashioned elbow grease, and a scraper. Once the surface is bare, it’s time to sand it smooth, revealing the unique grain and character of the wood beneath. Depending on the type of wood, you may need to use different grits of sandpaper to achieve the perfect smooth finish.
Choosing the Right Finish for Your Project
After sanding, you can stain the wood for a rich, warm color or leave it natural. The type of stain and finish you choose will depend on the look you’re going for and the level of protection you need. For a durable, long-lasting finish, I recommend using polyurethane or lacquer. These finishes not only protect the wood but also enhance its natural beauty.
Practical Tips and Tricks
One of the most important things to remember when refinishing furniture is properly identifying the type of wood you’re working with. Different woods require different techniques and finishes. For example, oak and mahogany can handle a more aggressive sanding, while softer woods like pine need a gentler touch.
Each finish has its pros and cons. Oil-based finishes are more durable but can yellow over time, while water-based finishes are easier to apply and clean up but may not last as long. Ultimately, it comes down to personal preference and the piece’s intended use.

Key Takeaways
Refinishing furniture is a labor of love, but the rewards are worth it. You can transform an old, worn piece into a treasured family heirloom with patience and attention to detail. This process not only saves money but also reduces waste and gives new life to forgotten gems.
Embrace the beauty of imperfections and let the unique grain and character of the wood shine through. That’s what makes each refinished piece truly one-of-a-kind.
Now, let’s move on to the next section, where we’ll explore the world of creative upcycling and repurposing everyday items into unique furniture pieces.
Creative Upcycling: Repurposing Everyday Items into Unique Furniture
As an eco-conscious homeowner, I love upcycling and breathing new life into everyday objects. Not only does it allow me to create truly unique furniture pieces, but it also promotes sustainability and reduces waste – a win-win situation!

Upcycled Furniture Ideas for the Living Room
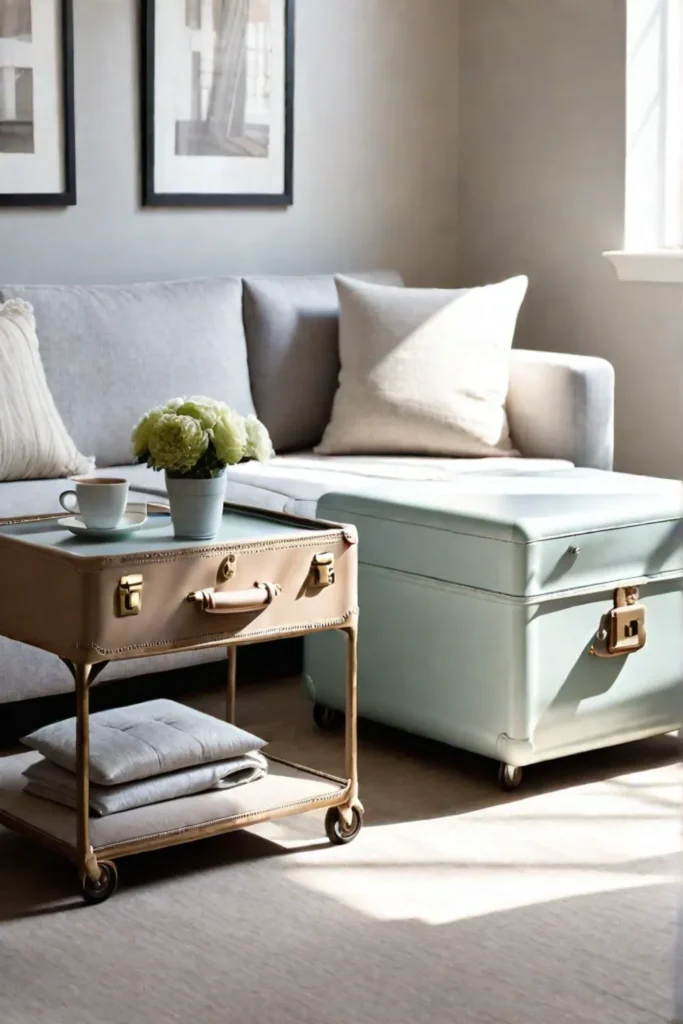
The possibilities are endless for upcycling items into functional furniture for your living room. One of my favorite ideas is transforming old suitcases into quirky side tables. Stack a few vintage suitcases, secure them together, and voila – you’ve got a one-of-a-kind accent piece that’s sure to be a conversation starter!
Tips for Finding and Repurposing Materials
I recommend keeping an open mind and thinking outside the box when finding materials to upcycle. Unexpected items like wooden crates, pallets, and even old doors can be repurposed into stunning pieces of furniture. Flea markets, thrift stores, and even your attic or basement can be treasure troves for hidden gems waiting to be transformed.
Ensuring Safety and Stability
While upcycling is a fun and creative process, ensuring that your DIY furniture is safe and stable is important. When working with repurposed materials, always inspect them for structural weaknesses or potential hazards. If necessary, reinforce the pieces with additional supports or use a sturdy base to ensure stability.

Upcycling allows you to create unique and personalized furniture pieces. It’s also a sustainable practice that benefits your home and the environment. Get creative, have fun, and embrace the joy of giving new life to everyday objects!
The next section will explore the world of crafting furniture from scratch, offering DIY project ideas and tips for those who prefer to start with raw materials.
Crafting from Scratch: DIY Furniture Projects for the Living Room
As an avid DIYer and home decor enthusiast, I firmly believe that crafting your furniture allows you to create a truly personalized living space and provides a sense of accomplishment and pride. With some creativity and elbow grease, you can transform your living room into a stunning showcase of your unique style.

Beginner-Friendly DIY Furniture Projects
For those just starting their DIY journey, fear not! Plenty of beginner-friendly projects can help you dip your toes into the world of furniture crafting. One such project is building a simple bench using basic woodworking techniques. Not only is it a functional addition to your living room, but it also serves as a great way to practice your skills and gain confidence.
Advanced DIY Furniture Projects
As your skills and confidence grow, you can tackle more advanced projects like constructing a media console with built-in storage or designing a custom coffee table with unique features. These projects may require more specialized tools and techniques, but the sense of accomplishment you’ll feel when you admire your handiwork will be unmatched.
Essential Tools and Resources
To embark on your DIY furniture adventures, you’ll need a basic toolkit consisting of a saw, drill, sander, and various hand tools. As for resources, the internet is a treasure trove of free or affordable DIY furniture plans, tutorials, and inspiration. Websites like Ana-White.com are great places to start your search.

DIY furniture projects allow you to control the design and materials and can be a cost-effective alternative to buying new furniture. Creativity and determination will enable you to breathe new life into your living room without breaking the bank.
Remember, the beauty of DIY furniture lies in the journey itself. Start with simple projects and gradually build your skills and confidence. Before you know it, you’ll be crafting stunning pieces that will be the envy of your friends and family.
The pride and accomplishment that come from creating something with your hands are truly unmatched. So, grab your tools, roll up your sleeves, and let your creativity shine through in your living room makeover!
Final Thoughts
The world of furniture transformation is a canvas for your creativity and an opportunity to live more consciously. Whether you’re refinishing an heirloom, upcycling discarded objects, or crafting a piece from scratch, each project is a chance to express your unique style while treading lightly on the planet.

Embrace the beauty of imperfections, honor the stories woven into repurposed materials, and revel in the sense of accomplishment that comes from breathing new life into forgotten gems. Your living room will become a sanctuary reflecting your values, inspiring mindfulness, and serving as a testament to the power of conscious living.
So, roll up your sleeves, gather your tools, and let your imagination soar. The journey of furniture transformation awaits, and the possibilities are endless.


