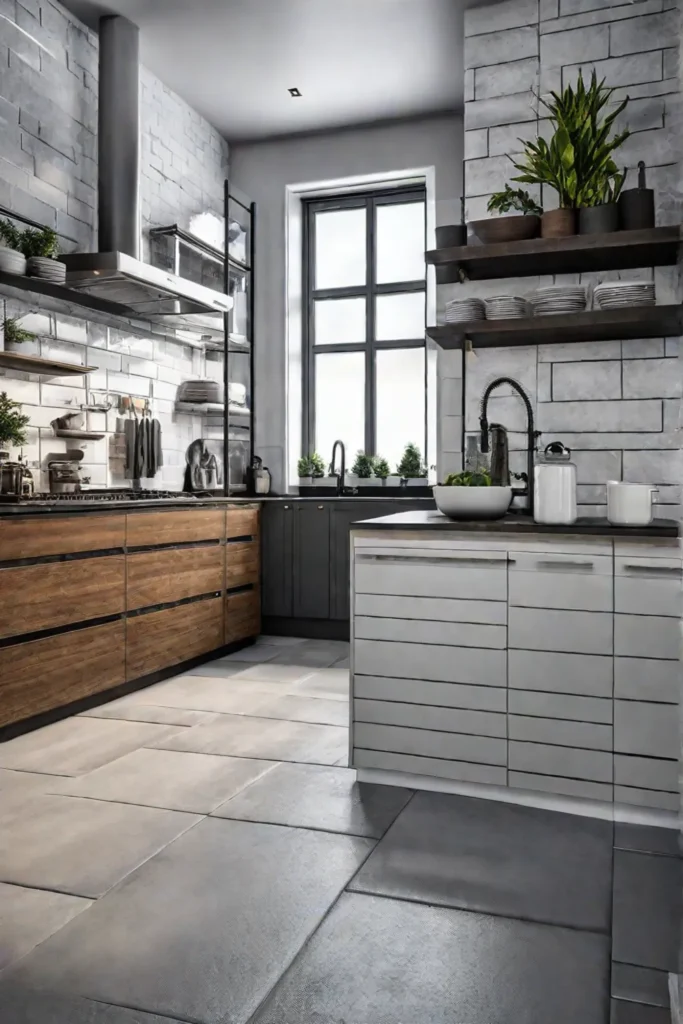
Have you ever walked into a beautifully remodeled kitchen and felt instantly envious of the gorgeous tile flooring? Imagine achieving that same showstopping look in your home – all through your hard work and creativity. With the right planning and tools, you can install kitchen floor tiles like a seasoned pro, with no contractor required.
Creating an Instagram-worthy kitchen on a budget is possible when you take the DIY route. Not only will you save money by doing the installation yourself, but you’ll get to put your unique stamp on the design. Forget settling for generic builder-grade floors – it’s time to treat yourself to the kitchen of your dreams.

So, let’s dive in and explore precisely what it takes to nail this rewarding renovation project. By carefully following these steps, you’ll be well on your way to a stunning new kitchen that makes all your friends jealous (in the best way possible). Get ready to roll up those sleeves and embrace your inner home reno boss!
Stocking Up: Essential Tile Tools and Materials
Before we get our hands dirty, having the proper tools and supplies is crucial for a smooth tile installation. You’ll need to gather:
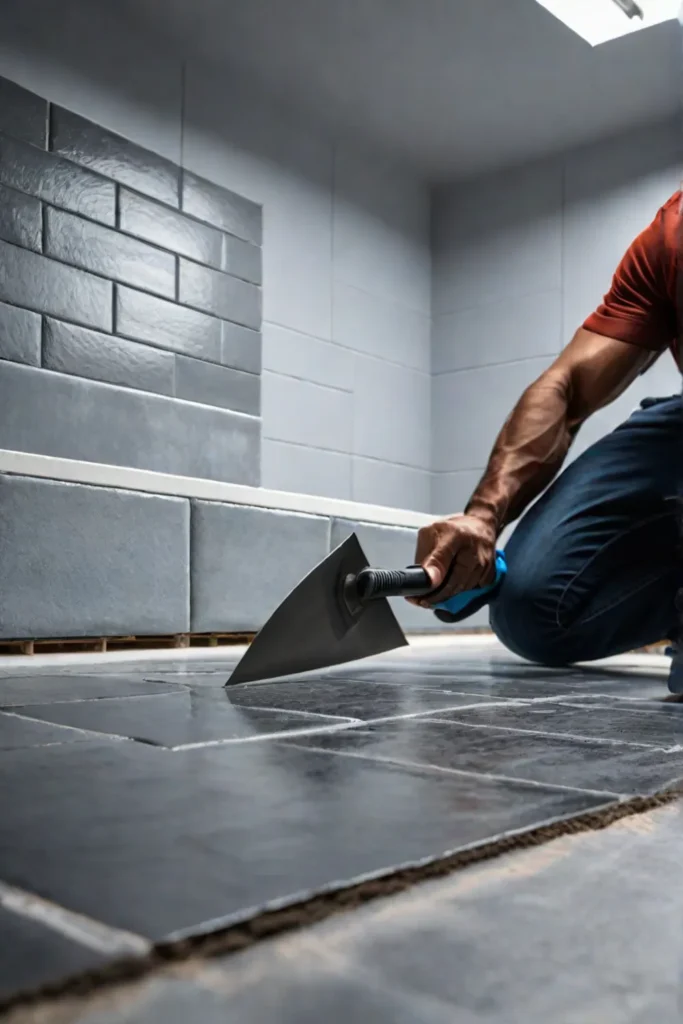
- A high-quality trowel for spreading thin-set mortar evenly
- A sturdy tile cutter or scorer to trim tiles cleanly
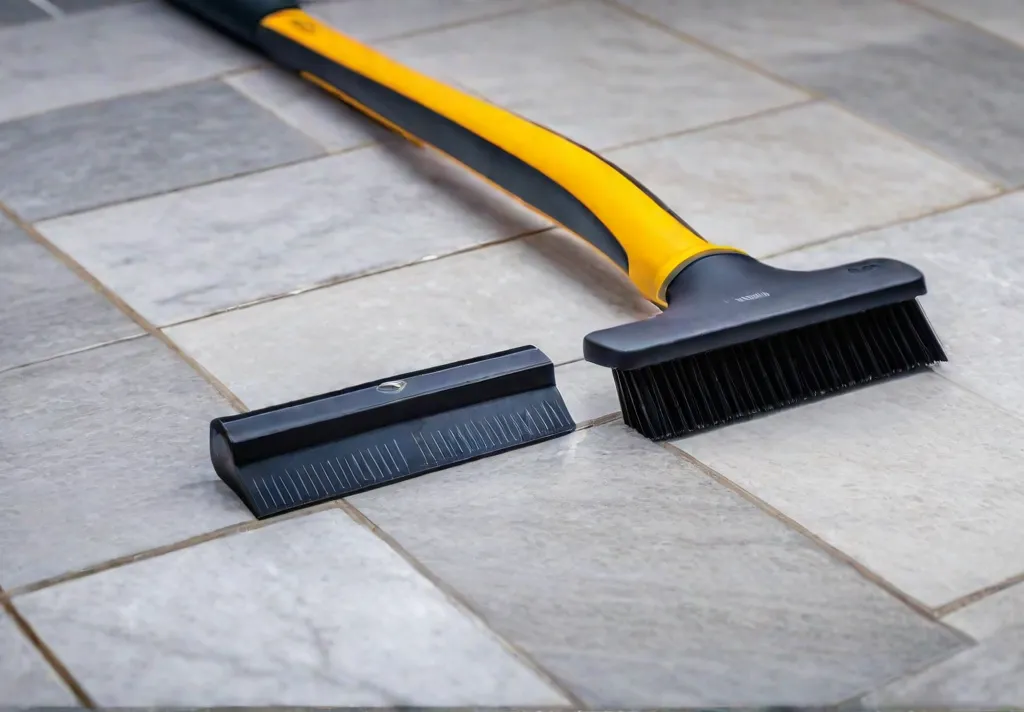
- Grout float for perfectly finished grout lines
- Spacers to maintain consistent spacing between tiles
- Your chosen tile adhesive and grout
- Sealant to protect those brand-new tiles
With these key tools ready, you’re already one step closer to tile installation success. But first, a quick masterclass on choosing the perfect tiles…
Tile 101: The sheer variety of materials, colors, and styles can initially feel overwhelming. Porcelain and ceramic are extremely popular for kitchens thanks to their durability and easy maintenance. But you could also opt for the timeless beauty of natural stone like granite, slate, or travertine.

Whichever route you go, take the time to examine those tile samples. How do they feel? What’s the color variation like? Visualize how the different options complement your kitchen’s color scheme and overall vibe.
Pro Tip: Remember to measure your kitchen’s square footage before heading to the tile store. This will allow you to accurately calculate how many tiles you’ll need, avoiding costly over-ordering. Most tile calculators suggest adding 10-15% extra to account for cuts and potential breakage, too.
Prepping for Perfection: All About the Subfloor
You’ve chosen your dream tiles – now it’s time to ensure they have a stable foundation. Properly preparing that all-important subfloor is make-or-break for a successful tile installation that lasts.
First, inspect your existing subfloor thoroughly. Look for any cracks, uneven areas, or moisture issues that could cause problems down the road. Addressing these red flags from the start is way easier than dealing with cracked tiles and grout lines later.
Depending on your subfloor material, you may need to take extra preparation steps:
Concrete Subfloors: Concrete is an ideal base for tile, but it must be properly cured and free of moisture issues. A self-leveling underlayment can smooth out any uneven areas. You may also want to install an uncoupling membrane, which allows the tile to move independently and prevents cracking.
Plywood Subfloors: Plywood subflooring needs to be stiff and firmly secured, with any loose areas re-nailed. Laying cement backer board over plywood provides extra protection and stability.

Existing Floors: Installing new tile directly over old flooring like vinyl or laminate is generally not recommended. These surfaces are too unstable and could cause the tiles to crack over time. Your best bet is to remove the old flooring completely.
While subfloor prep may seem like a headache, these crucial steps ensure your new tile floor stays sturdy and beautiful for years. A little extra effort now prevents major heartache later!
The Art of the Tile Layout: Patterns to Swoon Over
With your subfloor prepped to perfection, it’s time for the fun part – choosing a show-stopping tile pattern that will make your kitchen floor a true work of art! The layout and placement of those tiles can completely transform the look and feel of the space.
If you’re going for classic elegance, a simple staggered or subway pattern with uniform grout lines could be just the ticket. Diagonal or herringbone layouts add visual interest and make spaces feel bigger. Explore captivating patterns like Versailles, Windmill, or Hopscotch for a truly bold statement.
No matter which direction you go, carefully planning the layout from multiple angles is key. Snap photos of your empty kitchen and use graphic editing tools to experiment with different tile patterns. This allows you to preview exactly how each option would look before committing.

Once you’ve settled on the pattern, use chalk layout lines and spacers to map it out on your prepped subfloor. This creates a foolproof guide for laying each tile in its proper place. Don’t be afraid to get a little OCD about those measurements—it’s all in the details!
As you lay and cut tiles, remember to stagger end joints by at least 6 inches between rows. This creates a cohesive, polished look with no awkward streaks or patterns. Working from the center outward also makes it easier to keep everything aligned.
Grouting Like a Groutsmith: The Final Polish
After laying every last tile painstakingly, you’ve arrived at the home stretch: grouting and sealing those new floors to perfection. Don’t slack on this final step – proper grouting takes your project from “pretty good” to “OMG, that’s amazing!”
Regarding grout, you’ve got options like finely ground sanded grout or the more flexible, non-sanded variety. Your tile material and installation method will dictate which type is best. In general, sanded grouts work well for floors, while non-sanded grout is better suited for walls.
Once you’ve selected your grout, it’s time to play artist and choose the perfect color. Matching grout to your tile creates a seamless, monochromatic look. Using a contrasting grout color makes those tile shapes and patterns pop. Many designers love bright white or warm gray grout hues for a clean, modern aesthetic.
No matter which style you prefer, grout application is a delicate process. Using a grout float, apply the grout at a diagonal angle to pack it into those joints fully. After it sets for about 20 minutes, return with a damp sponge to wipe away the excess.

Pro Tip: To prevent unsightly grout hazes on those new tiles, change your sponge water frequently and use a grout haze remover. It’s worth extra time to achieve pristine, haze-free results.
Once the grout is penetrating, grout sealer is applied once it has cured per the manufacturer’s instructions. A penetrating topcoat blocks out moisture and stains, keeping your new floors flawless for years. Using a sealer specifically designed for grout is key—it allows the grout to cure while still properly providing that all-important stain resistance.
Stepping Back to Admire Your Masterpiece
Whew, what a journey! Now that the last tile is laid, the grout is sealed, and your tools are cleaned up, take a moment to revel in your incredible accomplishment. Look at that gorgeous new kitchen floor – you did that!
Completing a renovation of this scale through sheer determination and elbow grease is no small feat. Whether you’re a seasoned DIYer or a first-time renovator, installing tile floors is a true test of planning, precision, and patience. Give yourself a well-deserved pat on the back.

When friends and family inevitably rush over your stunning new kitchen, you can proudly tell them: “Thanks! I tiled it all myself.” There’s something incredibly gratifying about creating such a beautiful, functional living space with your own two hands.
While the process may have been challenging, the result of your hard work is a true showstopper. Those Instagram-worthy tiles have transformed your kitchen’s entire look and feel. Plus, you’ve gained invaluable hands-on experience to tackle all sorts of future home reno projects confidently.
So enjoy basking in your new kitchen’s beauty for a bit. Then start dreaming up what you want to tackle next—maybe some fresh subway tile in the bathroom? Whatever you decide, remember: you’re officially a certified tile installation pro now. With careful planning and the right mindset, there’s no limit to the amazing spaces you can create in your home.


