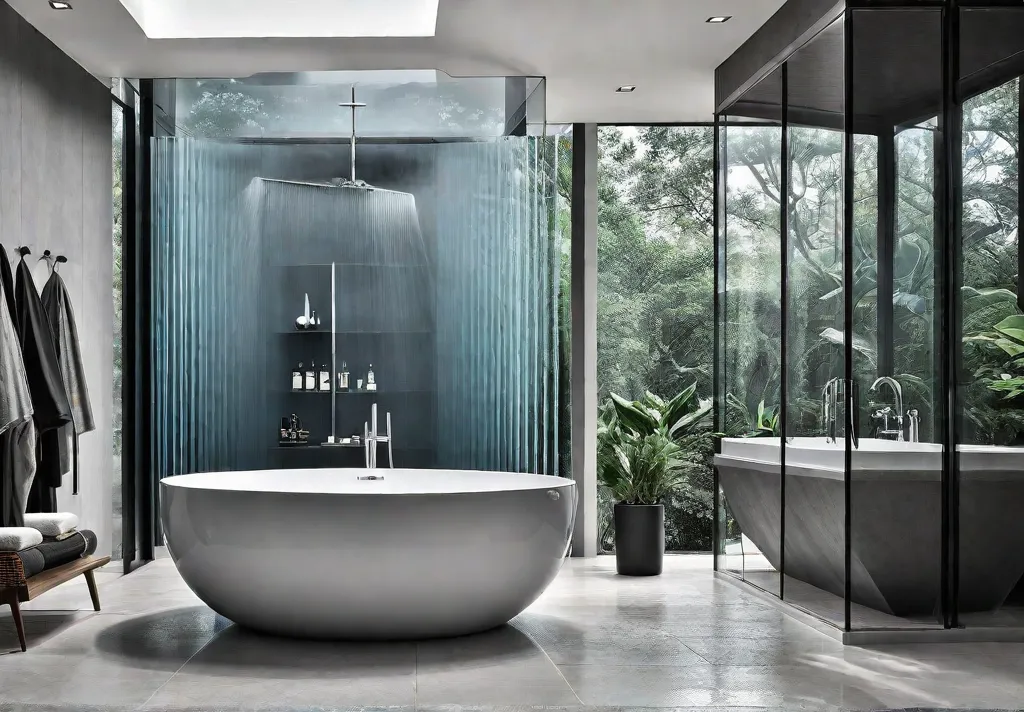
As someone who truly cherishes the comforts of home, I can’t think of a better way to start the day than with a luxurious shower in my master bathroom. The peaceful sound of the water and the warmth enveloping my body are the perfect ways to rejuvenate and prepare for the day ahead.
But you know, installing a master bath shower isn’t just about creating a relaxing retreat. It’s also a smart investment that can significantly boost the value of your home. Did you know that a bathroom renovation can yield a return on investment of up to 60%? That’s pretty impressive if you ask me.
In this article, I will walk you through the step-by-step process of installing a master bath shower, from the initial planning stages to the final finishing touches. Whether you’re a seasoned DIYer or tackling your first home renovation project, I’ll ensure you have all the information you need to create a beautiful, functional shower that will envy all your friends and neighbors.

So, are you ready to transform your main bathroom into a relaxing oasis? Let’s dive in!
Planning and Preparation
Before we pick up a tool, it’s crucial that we carefully plan and prepare for the installation process. After all, a well-thought-out plan is the foundation for a successful project.
First, let’s take a good look at your existing bathroom space. What’s working well, and what needs to be improved? Maybe the layout feels cramped, or the old tub is no longer doing it for you. Whatever the case may be, note any areas that need to be addressed during the renovation.
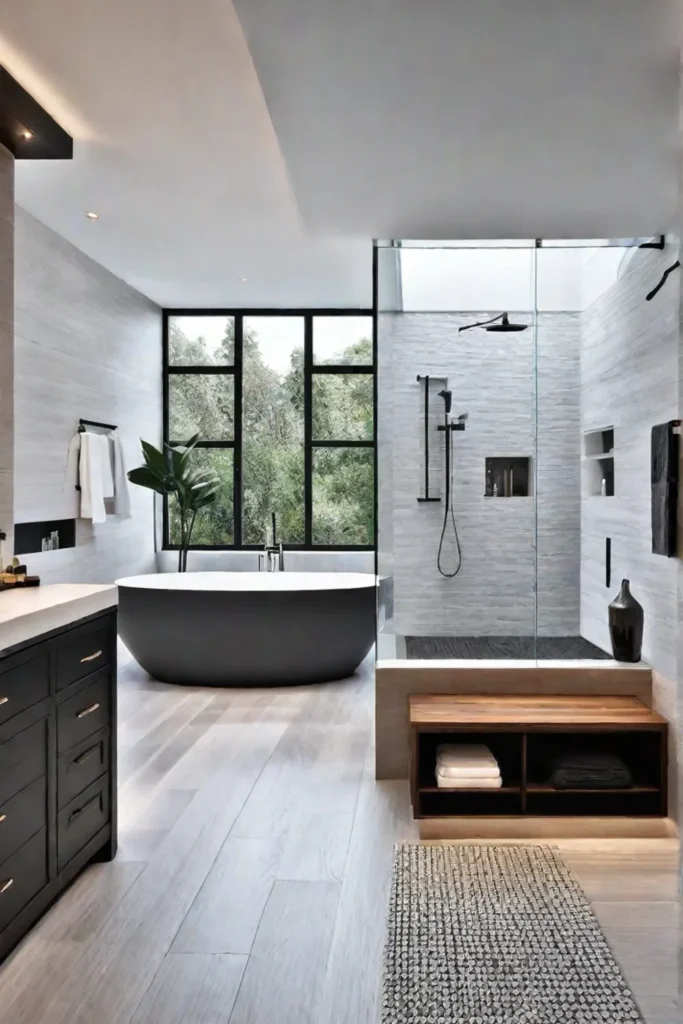
Next, it’s time to start thinking about the design of your new master bath shower. What size and layout will work best? Would you prefer a sliding door, a hinged door, or maybe even a sleek, frameless option? Don’t forget to consider any additional features, like built-in shelves or niches, that could elevate your space’s functionality and aesthetic.
Once you have a clear vision, it’s time to start selecting the appropriate shower components. Make sure to choose materials that complement your overall bathroom design and work seamlessly with your existing plumbing and electrical systems. After all, the last thing you want is to run into compatibility issues down the line.
Finally, take a moment to gather all the necessary tools and materials. This might include a circular saw, a level, a tape measure, and plenty of high-quality silicone sealant. Everything on hand and ready to go will make the installation much smoother and more efficient.
Remember, the key to a successful master bath shower installation is in the planning. By carefully considering every aspect of the project, you’ll be setting yourself up for a stress-free, professional-looking outcome.
Demolition and Preparation
Alright, now that we’ve completed the planning, it’s time to roll up our sleeves and get to work! The first step in the installation process is safely removing the existing shower or tub.
Safety should always be your top priority when it comes to demolition. Before you even think about picking up a tool, turn off the water supply and unplug any electrical connections in the bathroom. And don’t forget to wear the proper protective gear, like gloves and goggles, to keep yourself safe from flying debris.
Once the old fixture is out of the way, it’s time to inspect the subfloor and walls. You’ll want to ensure the surface is clean, dry, and free of cracks or damage. If you find any issues, now’s the time to address them. Repairing the subfloor or patching the walls may seem like a hassle, but trust me, it’s a crucial step in ensuring a solid foundation for your new shower.
Regarding plumbing, consult a professional if your existing system needs to be modified to accommodate the new shower. Trying to tackle major plumbing work on your own can be a recipe for disaster, so it’s best to leave that to the experts.
Properly preparing the space will set you up for a smooth and successful installation process. Trust me, a little bit of elbow grease upfront will pay off in the long run.
Installing the Shower Base
With the demolition and preparation work out of the way, it’s time to start laying the foundation for your new master bath shower. And that all starts with the shower base.
The shower base is the critical first step in creating a watertight, durable enclosure. You’ll need to start by ensuring the subfloor is clean, dry, and perfectly level to get it right. Use a laser level or a straight edge to establish a reference line, then measure from that line to determine the ideal placement for your new shower base.
Once the base is positioned just right, it’s time to secure it in place. Spread a generous amount of mortar or other leveling material underneath the base, then press it firmly into position. This will help prevent any shifting or movement down the line.
But we’re not done yet! To create a truly waterproof seal, you’ll also need to apply a bead of high-quality silicone sealant around the base’s perimeter where it meets the surrounding walls. This extra step may seem tedious, but trust me, it’s essential for keeping moisture where it belongs – inside the shower.
Remember, the shower base needs to integrate seamlessly with your existing plumbing system. Make sure the drain is properly connected and sealed to ensure efficient water flow and prevent leaks.
By properly installing the shower base, you’re laying the groundwork for a beautiful, long-lasting master bath shower. Remember, an ounce of prevention is worth a pound of cure, so don’t skimp on this critical step.
Installing the Shower Walls
With the shower base firmly in place, it’s time to focus on the walls. After all, they’re the key to creating a fully enclosed, waterproof shower system.
Before we start, let’s prepare the wall surfaces. Give them a good cleaning to remove dirt, debris, or old caulk. If you notice any cracks or damage, be sure to patch them up first. A smooth surface is essential for ensuring a proper bond between the walls and the adhesive.
Now, let’s talk about securing those walls. You’ll want to use a high-quality, waterproof adhesive to attach the shower walls to the base and surrounding surfaces. Apply the glue evenly along the backside of the walls, then press them firmly into place. Ensure they’re level and perfectly aligned – you don’t want unsightly gaps or uneven seams.
But we’re not done yet! To create a truly watertight seal, you’ll need to run a bead of silicone sealant around the edges of the shower walls where they meet the base and surrounding surfaces. This extra step is crucial for preventing water from seeping behind the tiles and causing damage.
And if you’re looking to elevate the design of your master bath, consider incorporating some additional features, like recessed niches or built-in shelves. Just be sure to plan for these elements during installation, as they’ll need to be properly integrated with the shower walls.
By carefully installing the shower walls, you’ll ensure a beautiful, functional, and long-lasting shower enclosure. Trust me, the extra effort is well worth it.
Installing the Shower Door
Alright, we’re in the home stretch now! The final piece of the puzzle is installing the shower door. And let me tell you, this is an important step that can make or break the overall look and feel of your master bath.
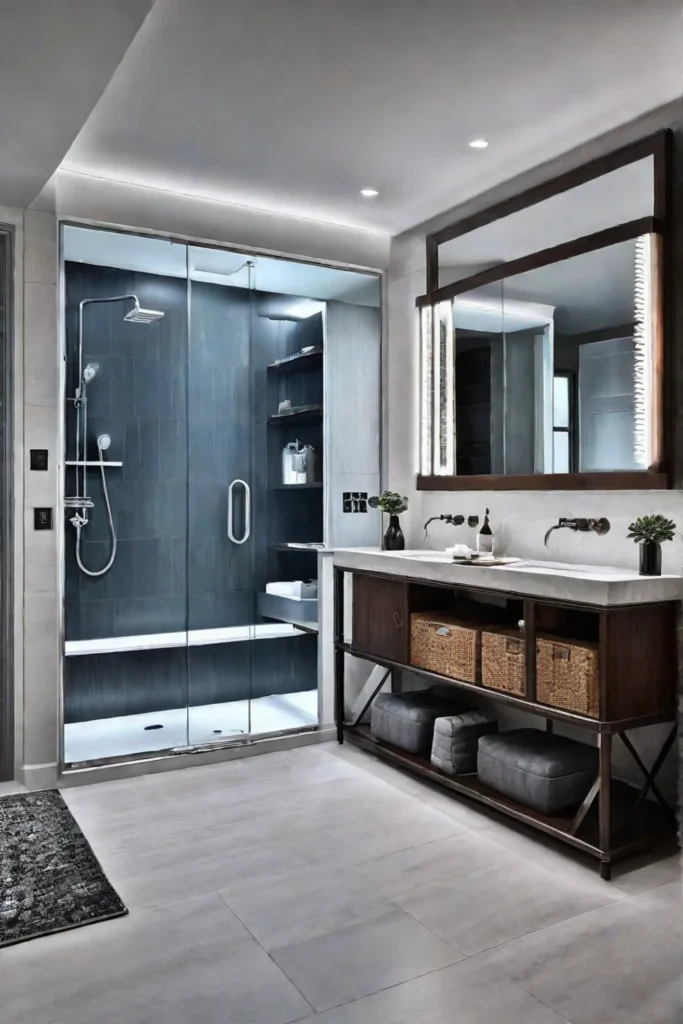
When choosing the right shower door, there are a few key factors to consider. Do you prefer the sleek, minimalist look of a frameless door, or are you drawn to the classic charm of a hinged or sliding option? And don’t forget to measure the shower opening carefully to ensure a perfect fit.
Once you’ve selected the perfect door, it’s time to install it. Start by measuring the shower opening and subtracting about 1/2 inch from each dimension. This will give you the ideal size for your shower door frame. Then, follow the manufacturer’s instructions to secure the frame properly.
But we’re not done yet! To create a truly watertight seal, you’ll need to apply a generous bead of silicone sealant around the door’s perimeter where it meets the walls. This step is crucial for preventing water from leaking out and damaging the surrounding areas.
I can’t stress enough how important it is to get this part of the installation right. A poorly sealed shower door can lead to problems, from water damage to mold and mildew. So take your time, follow the instructions carefully, and don’t hesitate to ask for help if needed.
With the shower door in place, your master bath transformation is nearly complete. The only remaining step is to add the finishing touches, which we’ll cover in the next section.
Finishing Touches
Congratulations! You’ve made it through the hard part – installing your new master bath shower is nearly complete. Now it’s time to focus on the finishing touches that will take your space to the next level.
One of the best ways to elevate the look and feel of your shower is by adding some high-end fixtures and accessories. Think luxurious showerheads, sleek towel bars, and stylish soap dishes. These little details can make a big impact, transforming your shower from ordinary to extraordinary.
For example, have you ever experienced the pure bliss of a rainfall showerhead? The gentle, soothing spray can instantly transport you to a spa-like oasis. And if you want to indulge, consider a dual showerhead setup with both a rainfall and a handheld option. Talk about the ultimate in customized comfort!
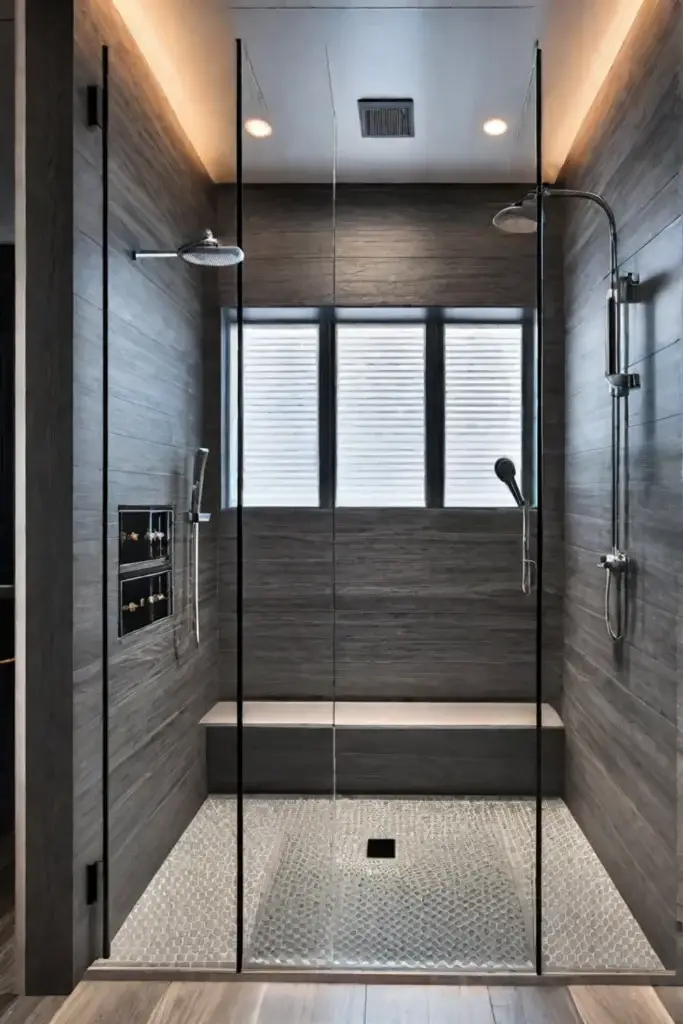
Of course, no master bath shower is complete without proper ventilation and lighting. Ensure your shower enclosure has adequate airflow to prevent mold and mildew buildup and consider installing dimmable LED lights for a warm, inviting ambiance.

Finally, once all the finishing touches are in place, it’s time to inspect and test your new shower thoroughly. Check for any signs of leaks or other issues, and make any necessary adjustments to ensure everything is functioning properly. After all, you want to relax and enjoy your new oasis without a care.
With the installation complete and the finishing touches in place, your master bath shower is now a true sanctuary – a private retreat where you can unwind and rejuvenate. Enjoy the fruits of your labor, my friend, and get ready to feel like a million bucks every time you step inside.
Conclusion
Well, there you have it – a comprehensive, step-by-step guide to installing a master bath shower that will transform your bathroom into a true oasis of relaxation and comfort.
From the initial planning and preparation to the final finishing touches, we’ve covered all the essential steps to ensure a successful and seamless installation. By taking the time to consider every aspect of the project carefully, you’re setting yourself up for a beautiful, long-lasting shower that will enhance your daily routine and increase the overall value of your home.
Remember, the key to a successful master bath shower installation is the details. Pay close attention to the leveling and sealing of the base, the proper integration of the walls and plumbing, and the meticulous installation of the shower door. And don’t forget to add those luxurious finishing touches that will make your new shower stand out.
So what are you waiting for? It’s time to dive in and plan your dream master bath shower. With a bit of elbow grease and a lot of attention to detail, you’ll be soaking in the lap of luxury in no time. Happy renovating!