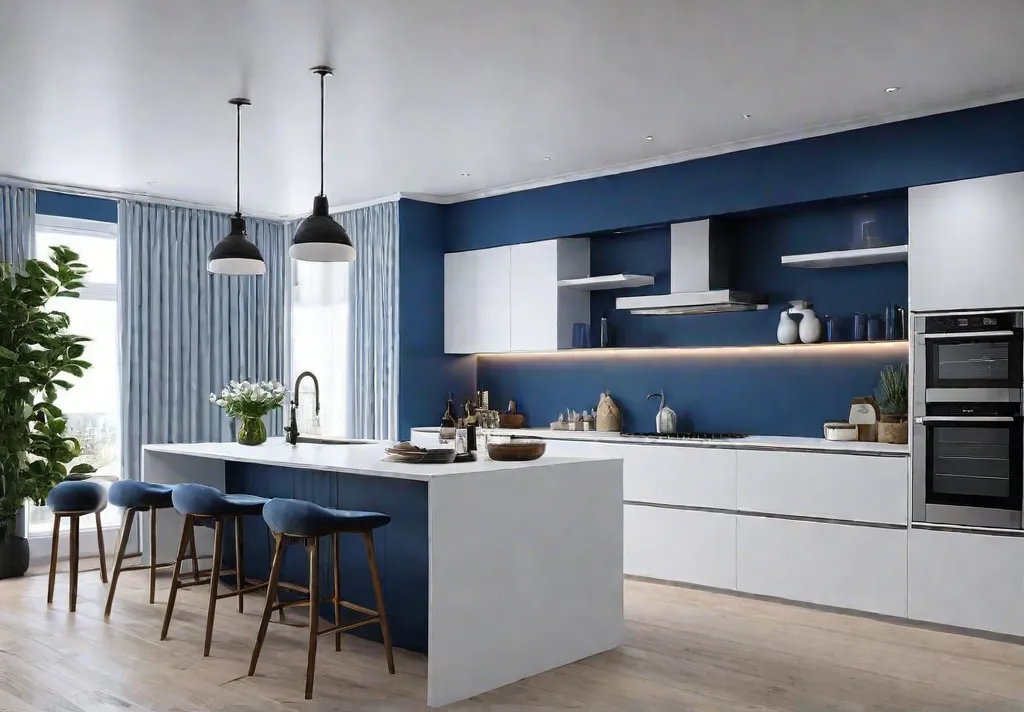
Calling all apartment dwellers and renters – does your outdated kitchen have you feeling stuck in a decor rut? Girl, I’ve been there. But listen up because those bland cabinets are about to get a major glow-up! In this guide, I’m dishing all my creative hacks for transforming tired cabinets into absolute showstoppers without blowing your budget.
Whether you want to embrace that vintage-inspired vibe or go full-on modern glam, I’ve got you covered. We’re talking easy DIYs like painting, staining, and even decorative accents that’ll have you snapping pics for the gram in no time. So grab your tools and get ready to refurb those cabinets into one-of-a-kind stunners! Your dream kitchen is just a few budget-savvy tweaks away.
A Fresh Coat for a Fresh Look: Painting Your Kitchen Cabinets
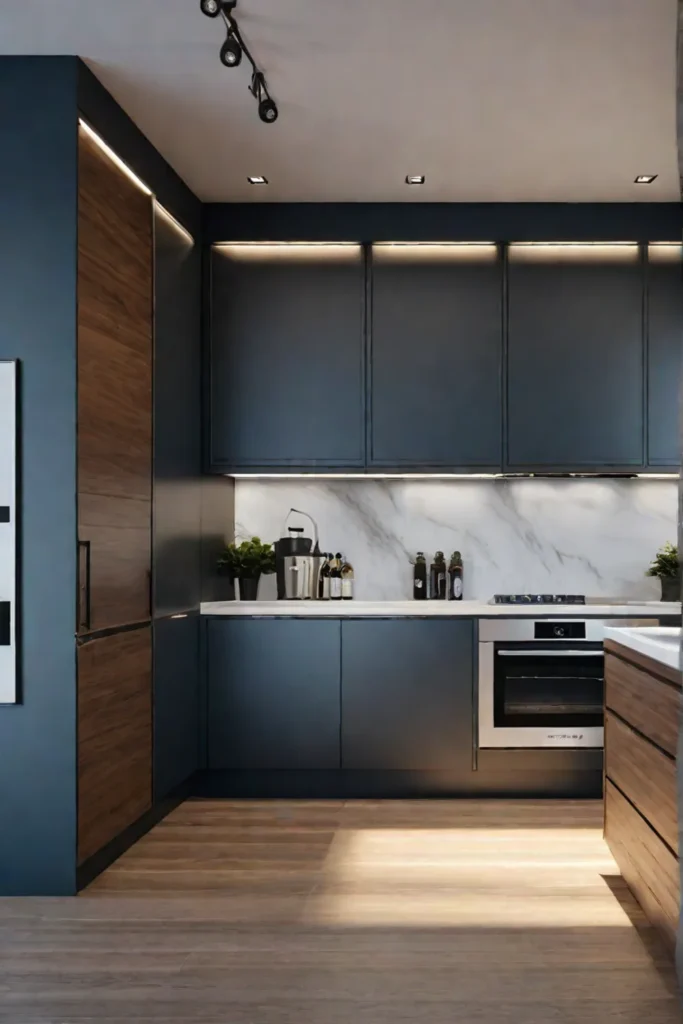
Are you feeling like your kitchen needs a major refresh but dreading the cost and hassle of a full reno? Girl, I’ve got the perfect solution for you – grab a paintbrush and give those tired old cabinets a fresh look! Painting is an affordable way to breathe new life into your space and create a total shift in vibe.
The Power of Color
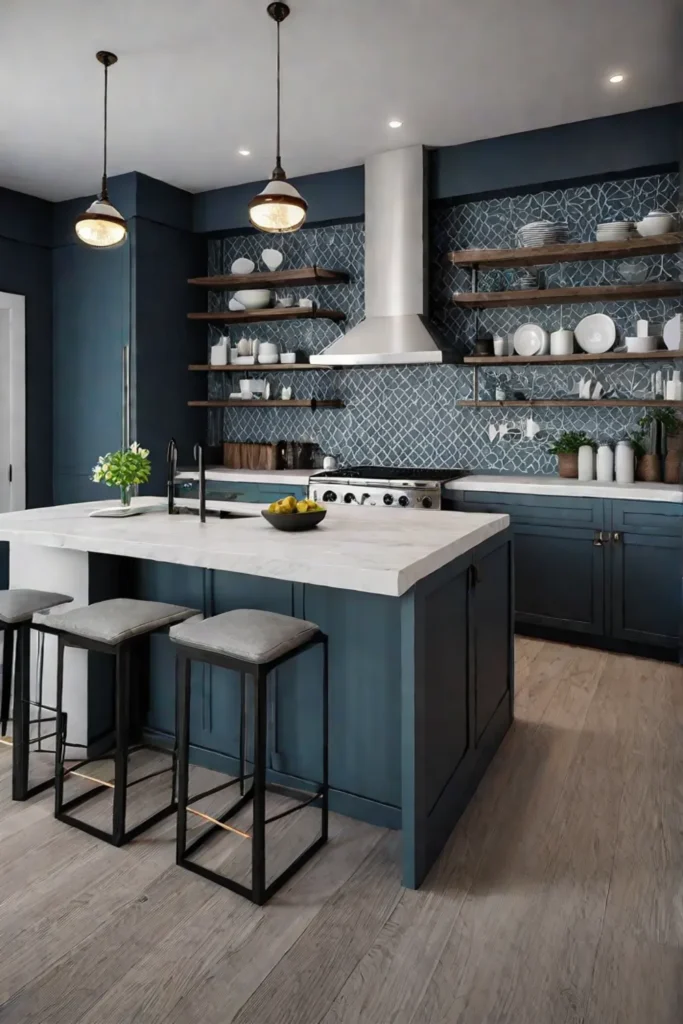
When it comes to cabinet colors, you’ve got tons of swoon-worthy options. Go bold with a rich emerald or navy for a dramatic, moody look, or keep things light and airy with a soft white or gray. If you’re feeling playful, why not try one of this season’s hottest hues, like sage green or dusty rose? The key is selecting shades that complement your existing decor and personal style.
Prep Like a Pro
As with any paint job, proper prep is everything if you want pro-grade results. First, give those cabinets a deep clean to remove grease or grime. Once squeaky clean, break out the sandpaper and lightly scuff the surfaces so the new paint has something to grip. Don’t skip the primer, either – it creates a smooth base for the topcoat to adhere to.
Paint It Pretty
When it comes to actually painting, using a cabinet-specific formula is non-negotiable. These specialized paints are made to withstand daily kitchen wear and tear. Apply in thin, even coats with a high-quality brush or mini-roller, allowing each layer to fully dry before adding the next. For an ultra-sleek finish, lightly sand between coats.
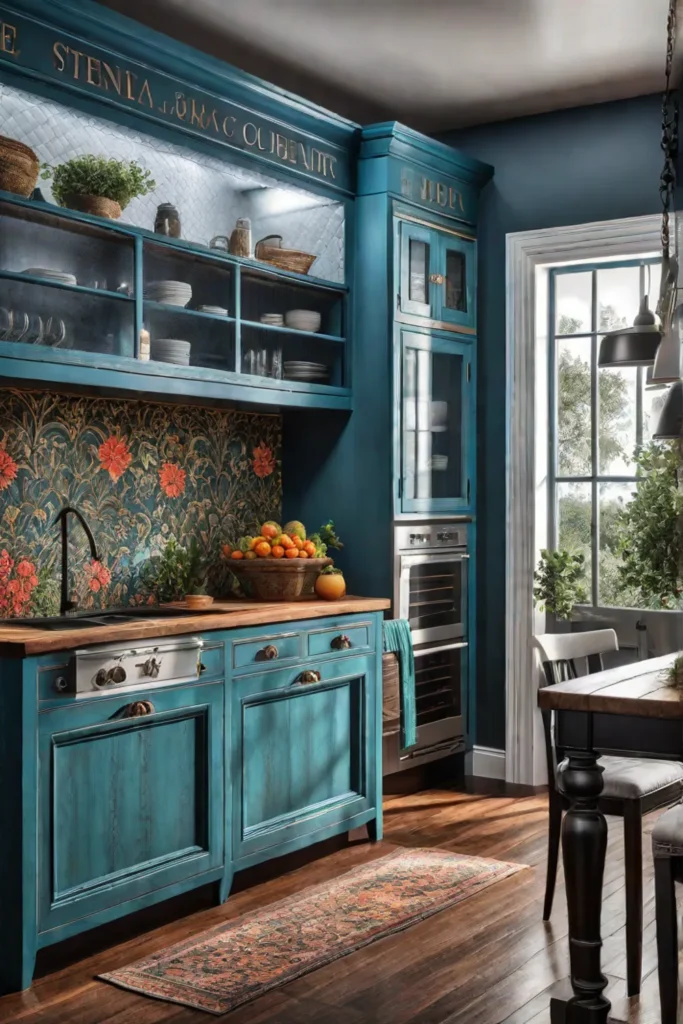
With a little elbow grease and the right techniques, you can easily transform those dull cabinets into stunning ones in just a weekend. Trust me, the results will be so fresh that you’ll be snapping pics for the ‘gram in no time!
Are you looking to go au naturale instead? The next section provides tips on embracing wood tones by staining your cabinets.
Embrace the Natural Beauty: Staining Your Kitchen Cabinets
Have you ever gazed at those glossy, high-end kitchens on Instagram and felt a twinge of envy? Get ready to achieve that luxe, natural wood look without splurging on new cabinets. Staining is an affordable and doable DIY that will breathe new life into your existing cabinets while enhancing the unique grain patterns. Trendy? Check. Cost-effective? Double check!
Selecting the Perfect Stain
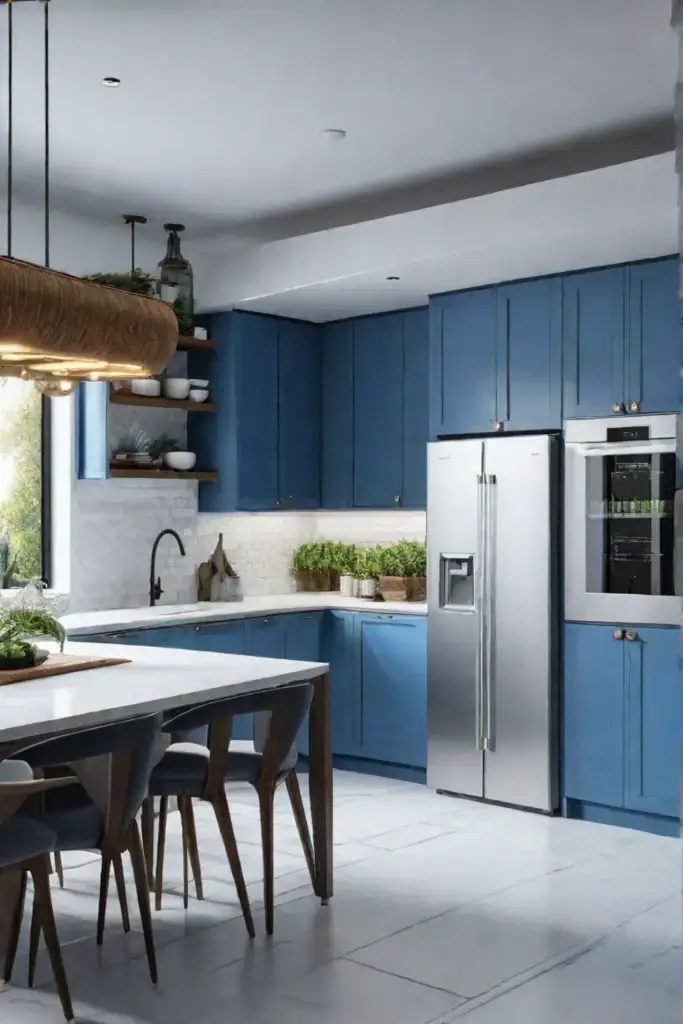
The stain you choose sets the vibe for the entire space, so this decision is key. Opt for a pale honey or whitewashed finish if you’re going for a light and airy feel. Rustic farmhouse? A warm chestnut or deep mahogany would be right on point. And for all my modern design lovers, gray stains are having a serious moment. Whatever your style, there’s a stain that’ll make those wood cabinets pop.
Mastering the Staining Process
I’ll be straight with you: staining cabinets takes a little elbow grease. But trust me, the wow-factor results are so worth it. Start by lightly sanding the surfaces to help the stain absorb evenly, then wipe away any dust. Apply the paint in thin, even coats using a clean rag or brush, allowing it to penetrate for the recommended time. Wipe away any excess, let it dry fully, and seal the deal with a protective polyurethane finish.
Top Tips for Stunning Stains
Different wood species, like oak and maple, absorb pigments uniquely, so do a sample test first. And remember, those UV rays can fade even the richest stains over time. Opt for an exterior-grade sealant to keep your cabinets looking fresh. Still feeling unsure? Grab a friend and make it a staining party—the more hands, the quicker the work gets done!
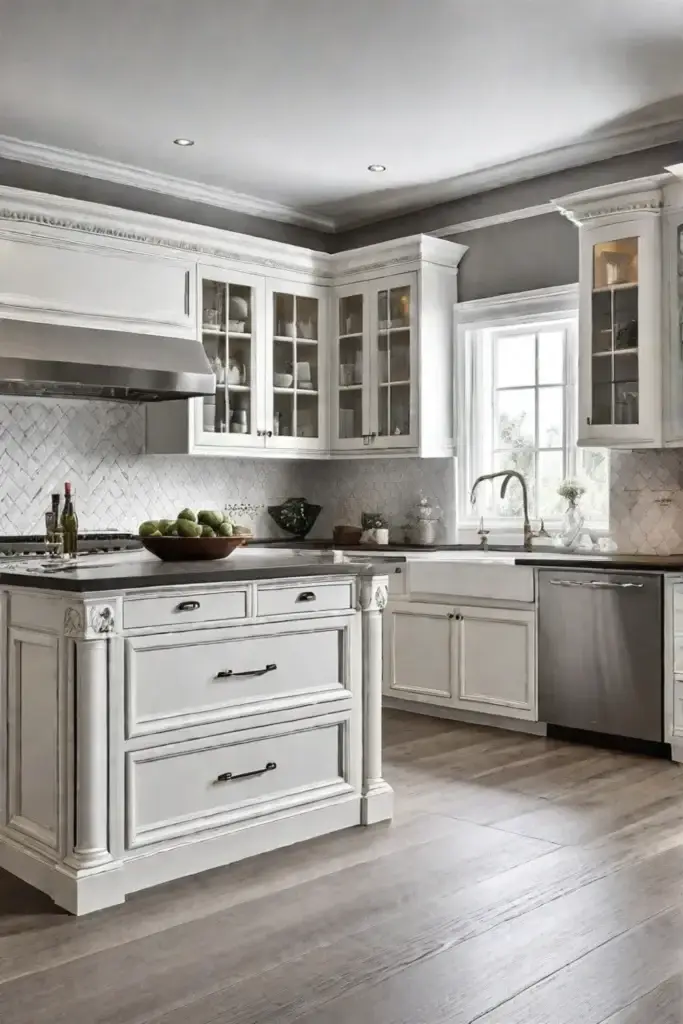
With some affordable stain and a weekend’s effort, you can transform blah cabinets into a gorgeous, Instagram-worthy focal point. Up next? Refacing for a complete cabinet overhaul without the sky-high price tag.
A New Face for Old Cabinets: Refacing for a Complete Overhaul
Feelin’ like your kitchen cabinets are stuck in the past? Girl, I’ve been there. Replacing them entirely can cost a pretty penny, but refacing is an affordable way to breathe new life into your space without breaking the bank. It’s a total game-changer!
Exploring Refacing Options
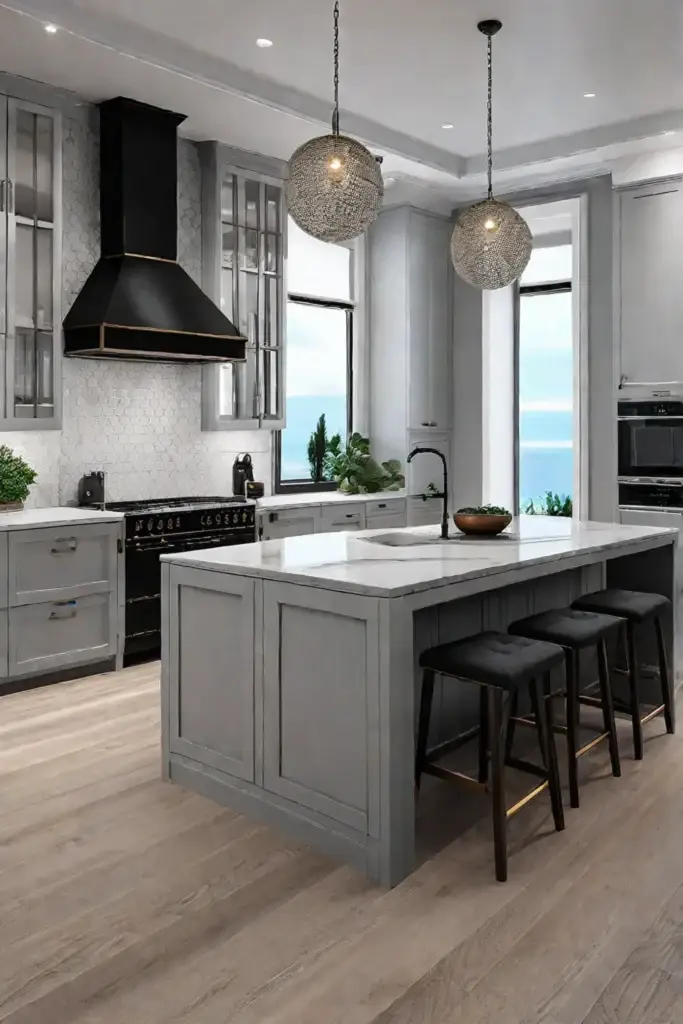
Refacing involves swapping out those dated cabinet doors and drawer fronts for fresh new ones—it’s like an instant facelift. The possibilities are endless when it comes to materials and styles. Wood veneers give a warm, cozy vibe, while laminates and rigid thermofoils (RTF) bring sleek, modern vibes. No matter your design aesthetic, there’s an option to suit your taste.
Navigating the Refacing Process
Don’t stress—refacing is way less invasive than a full cabinet overhaul. We’re talking a few days of work max, so you can keep living that daily grind with minimal disruption. First, you’ll need to decide on materials and finishes. Once that’s locked in, a pro will take measurements and order those new cabinet fronts. When they arrive, it’s demo time—out with the old, in with the new! The installer will handle swapping everything out seamlessly.
The Cost-Saving Perk
Here’s the real kicker: Refacing typically saves you 50% or more compared to replacing cabinets entirely. You can achieve that high-end, custom look without going broke. It’s a total win-win!

Refacing breathes fresh air into your kitchen and gives it a whole new vibe—all without blowing your budget. Just be sure to partner with a reputable company that produces quality materials and skilled installers. With a little refacing magic, you’ll be serving looks all over that Instagram feed in no time!
Next, we’ll discuss hardware upgrades to add the perfect finishing touch to your new cabinet style. Stay tuned!
The Finishing Touch: Hardware Replacement for a Stylish Upgrade
Want to instantly elevate your kitchen from drab to fab without breaking the bank? Swapping out those dated cabinet pulls and knobs is an easy and affordable upgrade that can completely transform the vibe. From sleek and modern to vintage glam, the right hardware makes all the difference.
Selecting Stylish Hardware
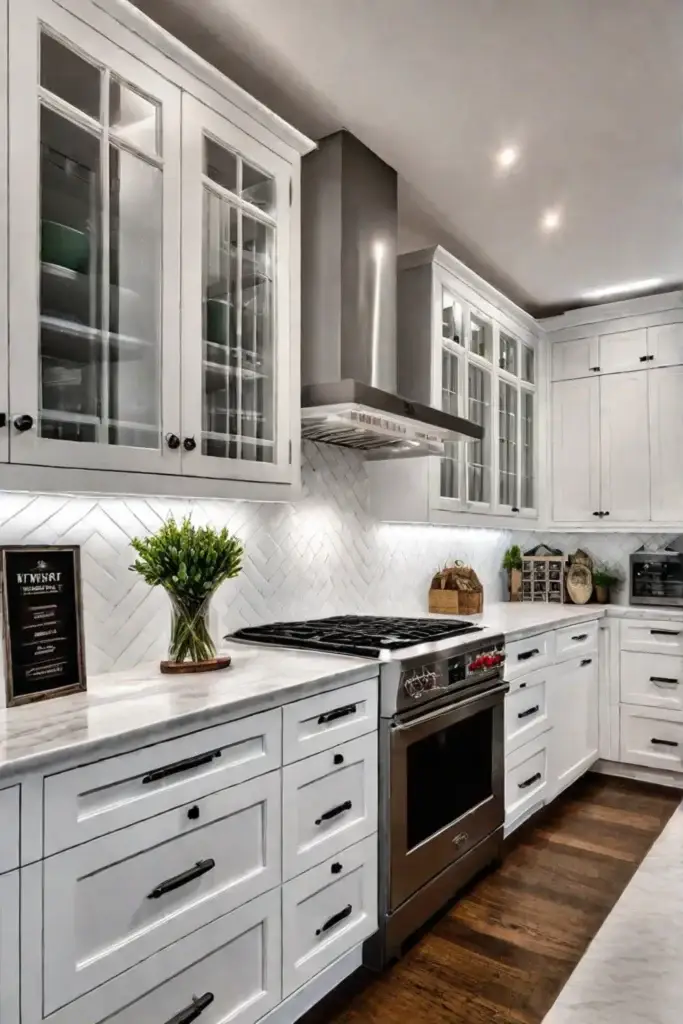
With so many styles to choose from, where do you even start? First, consider the overall aesthetic you’re going for – whether that’s a minimalist Scandinavian look, a warm farmhouse feel, or a retro mid-century moment. Stainless steel and matte black are major moments in contemporary kitchens, while brass and oil-rubbed bronze lend rich character to more traditional spaces.
Mixing and Matching
Who says you have to stick to one finish? Mixing metals for serious depth and visual interest is an on-trend trick. Try pairing brushed gold cup pulls with matte black knobs for an unexpectedly chic combo. Just keep the undertones cohesive – for example, warm brass with oil-rubbed bronze or cool chrome with stainless steel.
Installing Hardware with Ease
Once you’ve found the perfect pulls, it’s time to swap them out. Don’t sweat it—this DIY is seriously straightforward with the right tools. Grab a drill, screwdriver, tape measure, and a level, and you’re halfway there. Simply measure, mark your holes, drill pilot holes, and secure those beauties in place. Voilà —a total kitchen glow-up!
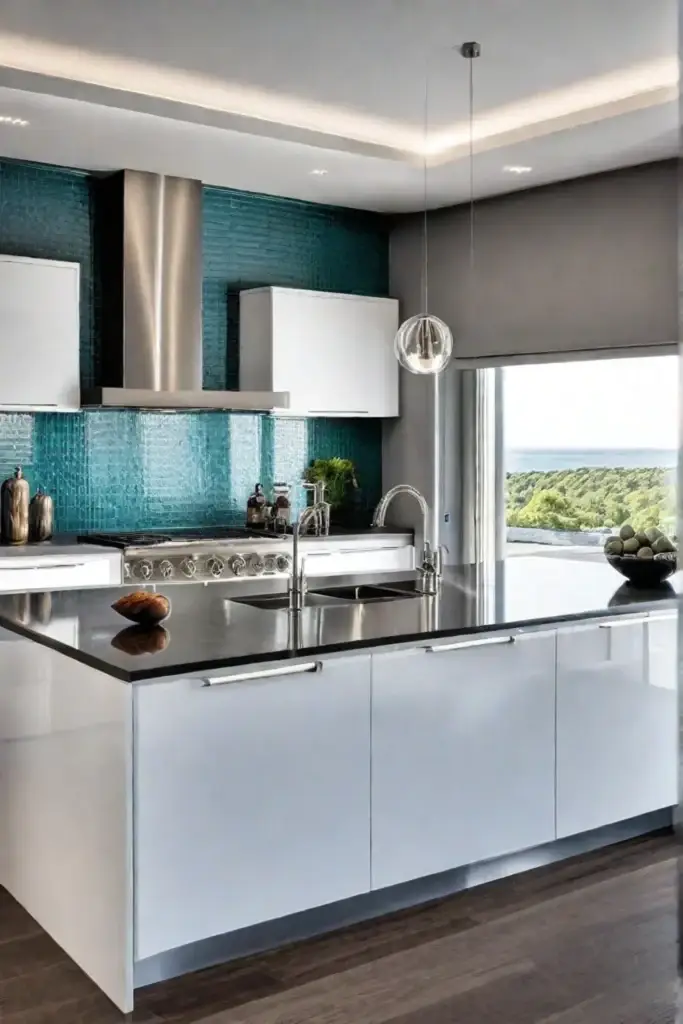
With a simple hardware refresh, your outdated cabinets will look fresh, modern, and worthy of the ‘gram. Next up? Adding dimension and charm with trim and molding for a custom look.
Adding Dimension and Charm: Trim and Molding for a Custom Look
Ever step into a room that feels…blah? Like it’s missing that extra oomph factor? Girl, same. But what can transform those drab cabinets into an Insta-worthy statement piece? Playing with trim and molding! These architectural accents are a renter’s best friend for zhuzhing up basic builder-grade cabinets on a budget.
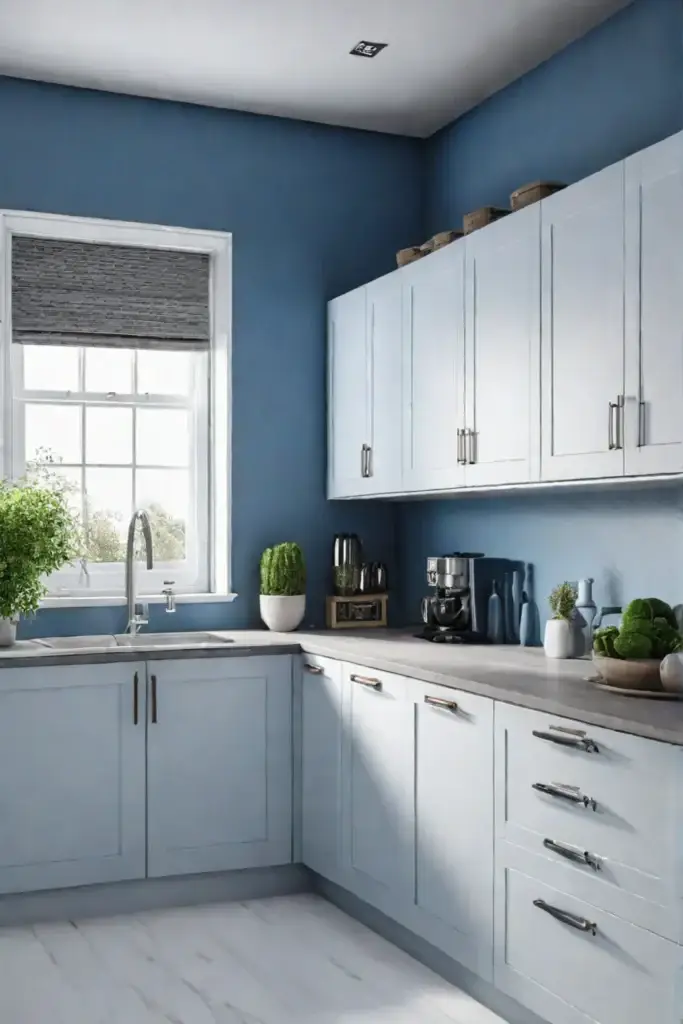
Exploring Trim and Molding Options
The options for trim styles are endless – from sleek and modern to gorgeously ornate. Wood, MDF, and polyurethane are all fair game depending on your vibe. I’m obsessed with simple flat or beveled trim for a clean, contemporary look. Opt for more intricate profiles like egg-and-dart or dentil molding if you want to channel some vintage charm.
Installation Inspo
Proper installation is key to that seamless, built-in aesthetic. I’m talking laser-sharp miter cuts, tightly coped inside corners, and secure attachment with construction adhesive. It takes some elbow grease, but the payoff is major. Just look at these kitchen glow-ups—the trim completely elevates the cabinets and ties the whole space together.
Tools for Precision
To get it right, you’ll need a miter saw (or hired handyman skills!), a caulk gun, a nail gun, wood putty, and a steady hand. Measure twice, cut once is my motto. Those plain-Jane cabinets can easily be transformed into total showstoppers with a little patience and the right techniques.
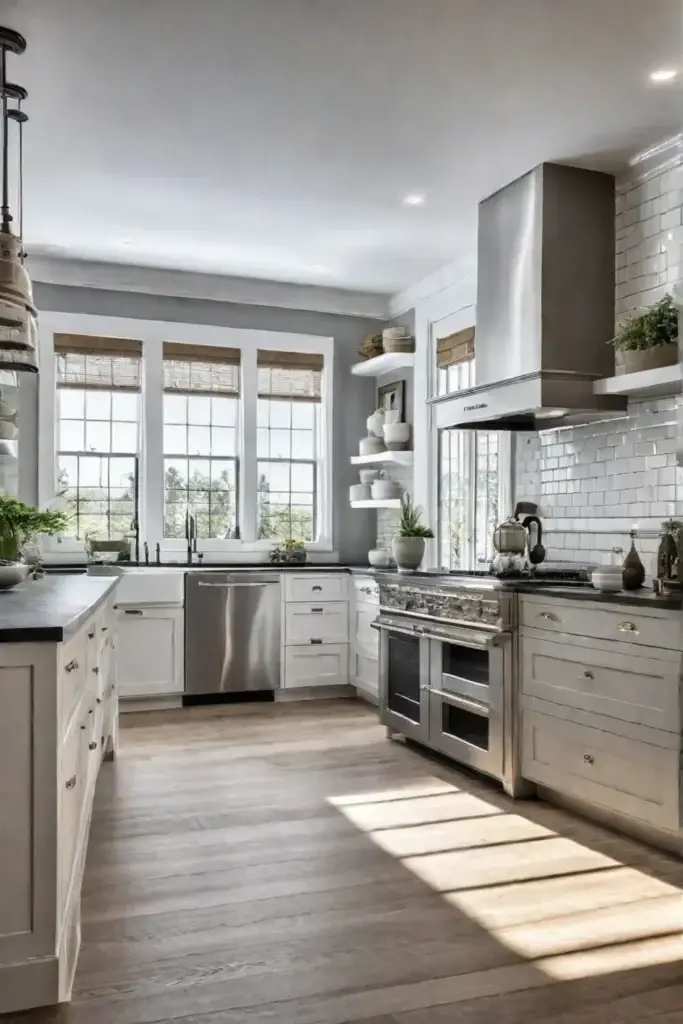
Whether classic or modern, trim is a genius way to add serious dimension and character to your kitchen for a true custom finish. Wait until your friends see the “after” pics – they’ll never believe those aren’t brand-new cabinets!
Aging and distressing can also work wonders for achieving that coveted vintage vibe. In the next section, we’ll explore how to create an authentically worn look with some cool faux-finishing tricks.
The Art of Aging: Distressing Techniques for a Vintage Vibe
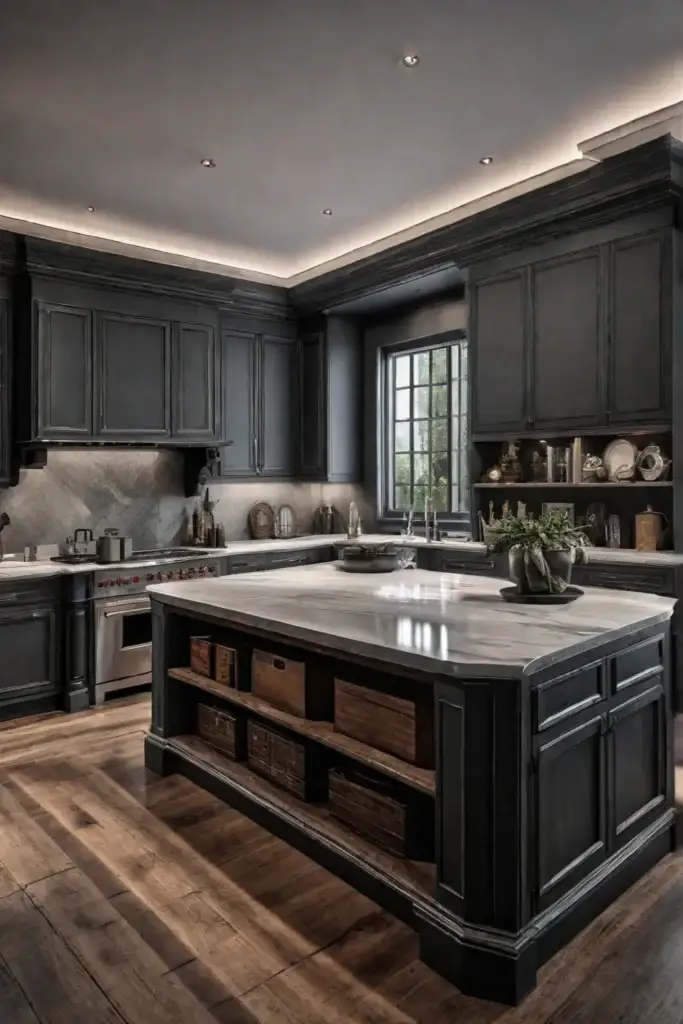
Tired of your kitchen cabinets looking too “fresh out of the box?” Girl, same! Why settle for plain when you can add soul with some strategic distressing? This trend is everything right now for achieving that coveted rustic vibe.
Mastering Distressing Methods
First, let’s break down the main techniques. For a subtle worn look, sand down the edges and corners to expose glimpses of the natural wood grain. Or get scrappy by using a hammer to create authentic dings and dents—very farmhouse fab! If you’re feeling extra, chisel out some faux wormholes for vintage vibes on another level.
Achieving the Perfect Vintage Look
Now it’s time to get creative with color! Layer different paint hues, then sand back to let the undertones peek through. This adds so much depth and character. I’m obsessed with using chalky pastels for a romantic, shabby, chic feel. But you could also do an industrial glaze over a dark base for an edgier urban look. There are so many possibilities!
Practice Makes Perfection
Before going full force, I recommend practicing your distressing skills on a spare piece of scrap wood. This lets you test out techniques until you nail that perfectly imperfect finish. Trust me, it’s an art! Once you’ve got it down, your outdated cabinets will transform into one-of-a-kind stunners.
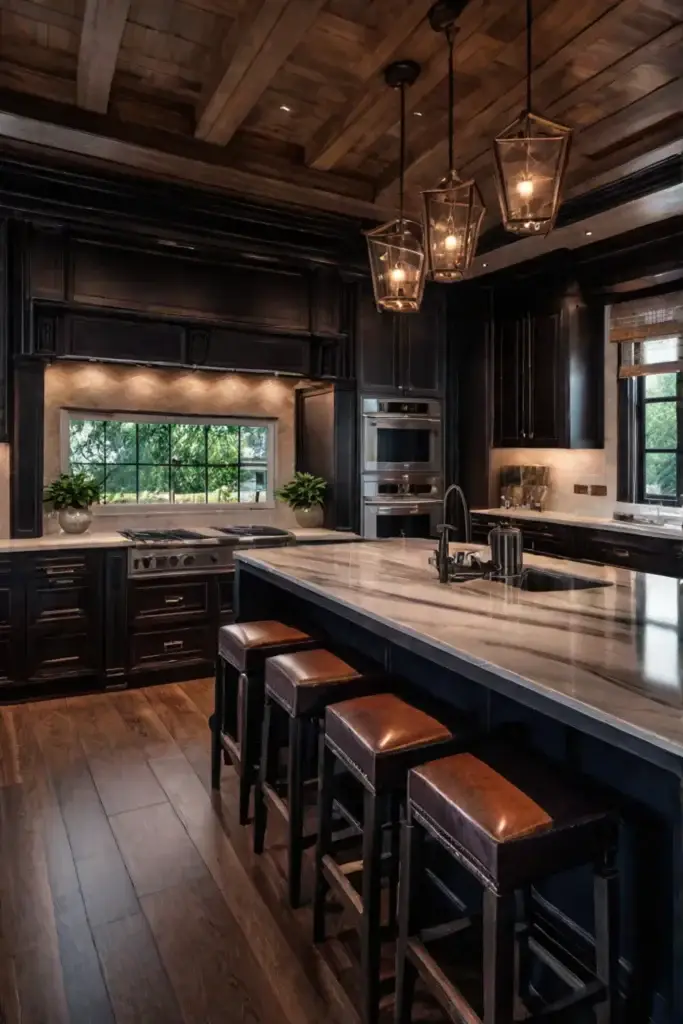
Ready to transform your boring, builder-grade kitchen from drab to fab? Embrace the power of distressing for cabinets that radiate personality and vintage soul. Next, I’ll discuss the best decorative accents to amplify your refurbed space.
The Personal Touch: Decorative Accents for Added Flair
Let’s get real. You’ve already put in the hard work refinishing those outdated cabinets—why stop there? By adding some decorative flair, you can transform those bad boys into absolute showstoppers that scream “you.” Forget boring and basic—it’s time to get creative and let your personality shine through.
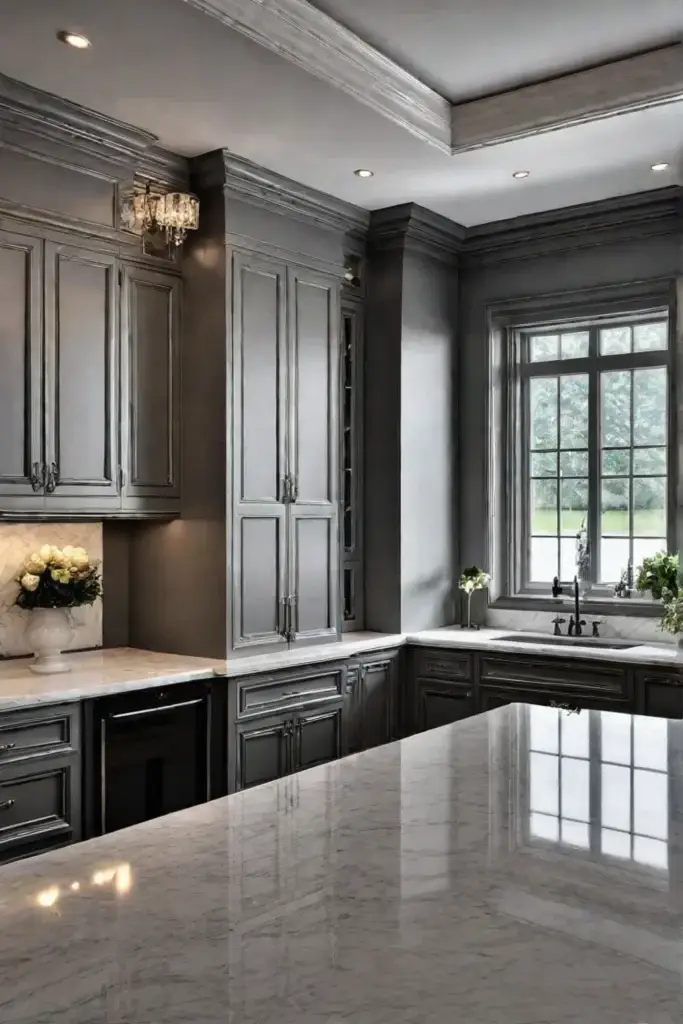
Exploring Decorative Options
The world is your oyster when it comes to decorative accents. From intricate stencils that add eye-catching patterns to decoupage for incorporating your favorite fabrics or prints, there’s an option for every style—feeling extra fancy? Decorative glass or metal inserts will increase the glam factor.
Adding Accents with Style
Of course, you’ll want those accents to complement the overall vibe of your kitchen. A stenciled geometric design would look killer in a modern, minimalist space. Decoupage some vintage wallpaper or fabric onto the cabinet fronts for a more eclectic, bohemian feel. And those decorative inserts? It’s a must for nailing that mid-century modern aesthetic you’re going for.
Making It Yours
The key is choosing accents that speak to you. This is your chance to get hands-on and make those cabinets your own. Don’t be afraid to mix and match techniques or get a little experimental – some of the coolest designs happen by accident. Trust your creative instincts and have fun with it!
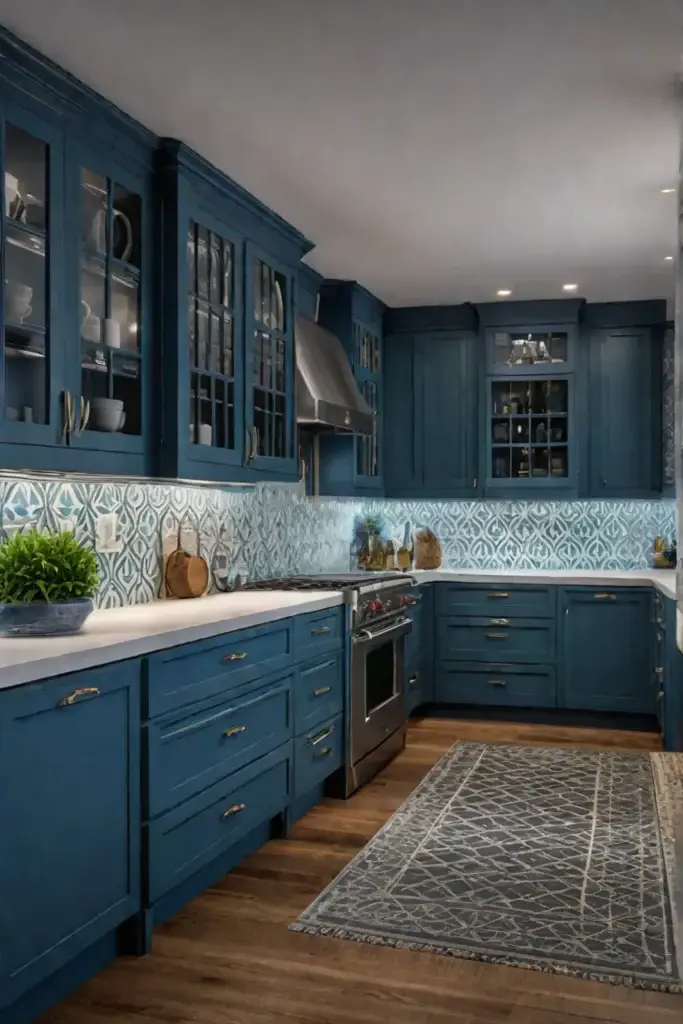
Ready to take those plain cabinets from drab to fab? The finishing touches are just a few creative accents away.
Finishing Touches
There you have it, babe – proof that you don’t need to break the bank on a total reno to score an Insta-worthy kitchen. You can easily breathe new life into those outdated cabinets with a little creativity and some good old-fashioned DIY spirit. Whether you’re feelin’ a fresh coat of paint, a gorgeous stain, or some decorative flair, these affordable ideas are total game-changers.
So what are you waiting for? It’s time to stop dreaming and start doing. Refurb those sad cabinets into the kitchen showstoppers you deserve! Snap those “after” pics, then bask in all the double-taps and compliments from your friends. You’ve got this!
